How to template marmoleum for a screeded floor in a Small Bathroom: A Step-by-Step Guide
Another fine project from cavendish deVere. Here we fitted marmoleum (in this case the Forbo Marmeoleum Concrete 3749 Arctic) in a small bathroom. So, Marmoleum is the brand name for linoleum and is made by Forbo Flooring. Its a natural and eco-friendly flooring option, is a durable and attractive choice for bathrooms. Its installation process requires precision and patience, particularly in small spaces. Here’s a comprehensive step-by-step guide to fitting Marmoleum in your bathroom.
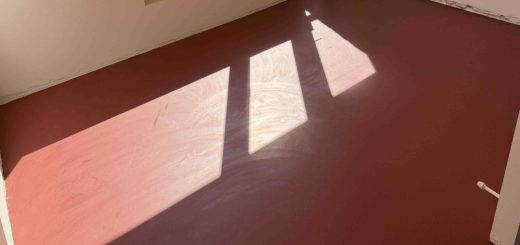
Step 1: Prepare the Subfloor
A smooth and clean subfloor is crucial for a successful Marmoleum installation. Follow these steps to prepare it:
- Clean the Subfloor:
- Remove any existing flooring materials, adhesives, or debris.
- Vacuum or sweep thoroughly to ensure the surface is free of dirt and dust.
- Prime the Subfloor:
- Apply a primer suitable for your subfloor material (e.g., concrete, plywood).
- Use a roller or brush to ensure even coverage. Allow the primer to dry completely as per the manufacturer’s instructions.
Step 2: Screed the Floor
Screeding creates a perfectly level surface for Marmoleum:
- Mix the Screed:
- Prepare a self-leveling screed according to the instructions on the packaging.
- Apply the Screed:
- Pour the screed mixture onto the primed subfloor, starting from the farthest corner of the room.
- Use a trowel or screed rake to spread it evenly.
- Allow to Dry:
- Let the screed cure completely. This can take 24–48 hours depending on the product.
Step 3: Sand the Subfloor
After the screed has dried, the floor must be sanded to remove any imperfections:
- Sand the Surface:
- Use fine-grit sandpaper or a floor sander to smooth the screed. Focus on high spots or ridges.
- Clean the Floor:
- Vacuum thoroughly to remove all dust and debris created during sanding.
Step 4: Create a Template
Since Marmoleum is brittle before installation, a template ensures precise cutting and fitting:
- Use Templating Paper:
- Lay templating paper (or kraft paper) across the bathroom floor. Tape the sheets together if needed.
- Mark the Template:
- Outline the perimeter of the room, including curves and fixtures, using a pencil or marker.
- Cut the Template:
- Remove the templating paper and cut along the marked lines.
Step 5: Cut the Marmoleum
Using the template, cut the Marmoleum to the exact dimensions:
- Lay the Template on the Marmoleum:
- Place the template on the back of the Marmoleum sheet and secure it with tape.
- Cut the Marmoleum:
- Use a utility knife or a fine-toothed saw to cut along the edges of the template. Be cautious to avoid cracks.
Step 6: Glue the Marmoleum
Secure the Marmoleum to the bathroom floor:
- Apply Adhesive:
- Use a suitable flooring adhesive, spreading it evenly on the subfloor with a notched trowel.
- Lay the Marmoleum:
- Carefully position the Marmoleum onto the adhesive-covered floor. Start from one side and gently press it down, smoothing out air bubbles with a roller.
- Seal the Edges:
- Press the edges firmly to ensure they adhere completely. Trim any excess material if needed.
- Let it Cure:
- Allow the adhesive to set for the recommended time before using the bathroom.
Final Thoughts
Installing Marmoleum in a small bathroom requires attention to detail, but the result is a sleek, hygienic, and durable floor. By following these steps carefully, you’ll ensure a professional-quality finish that will last for years to come. But! It is time consuming, it is a tricky skill to learn and if you really don’t want to invest the time yourself then you can always call the professionals!


Recent Comments