
A Smooth New Rubber Floor for a Kitchen, Diner and Conservatory in Chiswick
When a home is midway through a renovation, the floor is often the element that ties everything together. On this recent project in Chiswick, we were asked to lay a new rubber floor across a kitchen/diner and its adjoining conservatory extension, creating one continuous, level surface through all three areas. As with any resilient floor, the real secret to the finished result lay in what happened underneath, so here is a closer look at how we went about it.
The Brief: One Continuous Floor Through Three Spaces
The customer wanted a single rubber floor running from the kitchen, through the dining area and out into the conservatory. This is a lovely way to make an extended ground floor feel open and connected, but it also places real demands on the subfloor. Rubber is a beautifully practical material, warm underfoot, quiet and hard-wearing, yet it is also honest: any lumps, ridges or dips beneath it will show through on the surface. Getting the base right was therefore the most important part of the job.
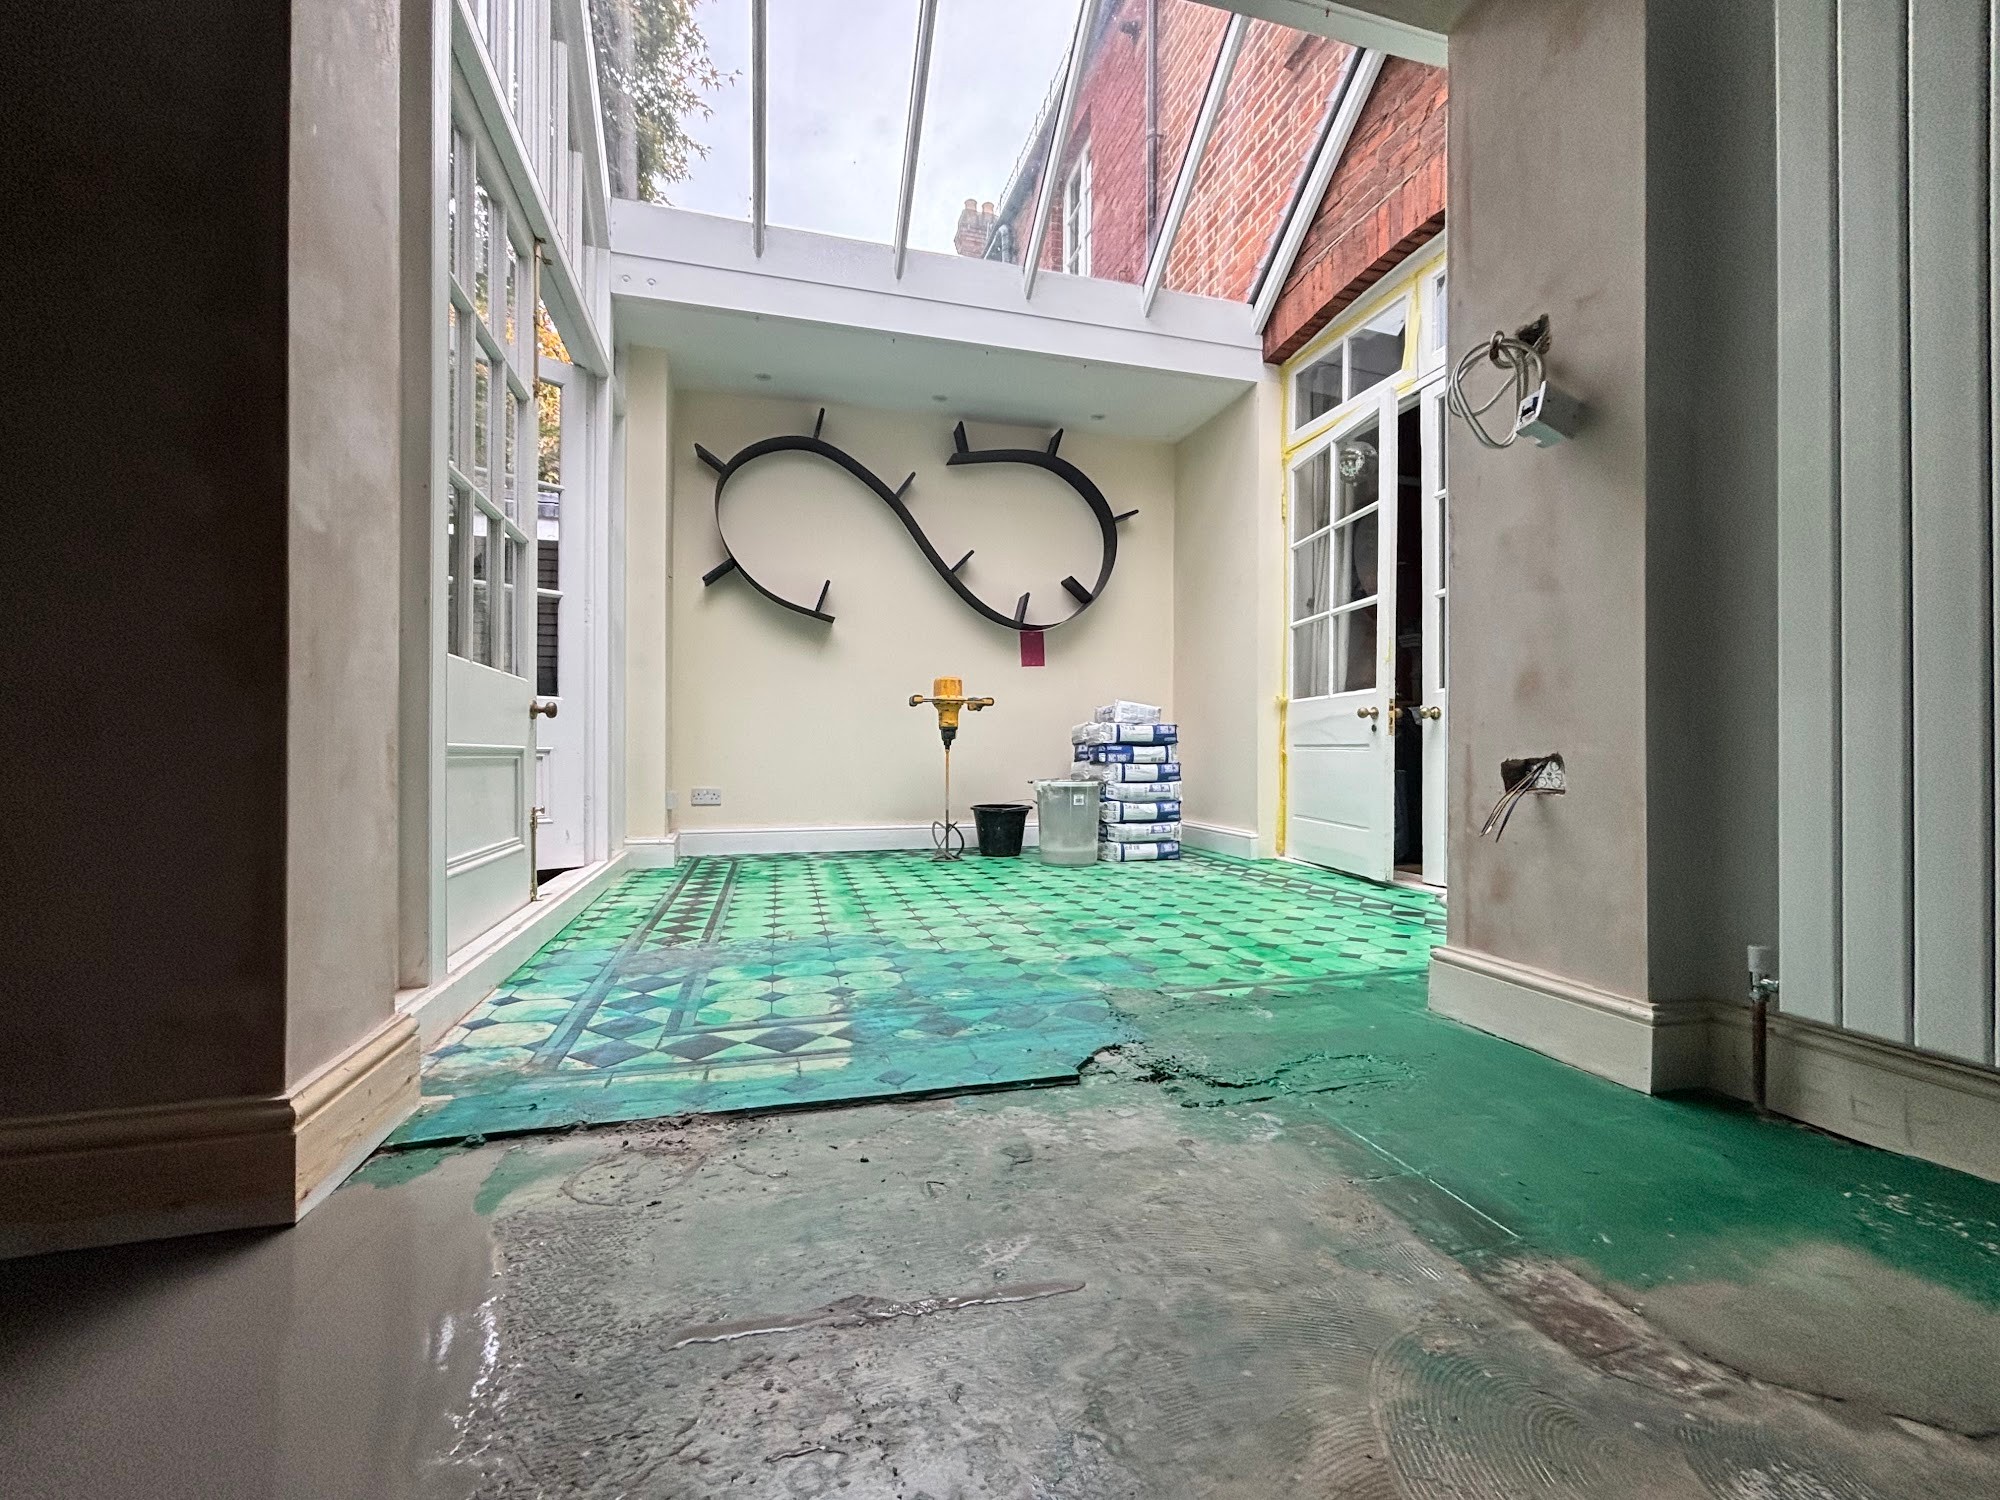
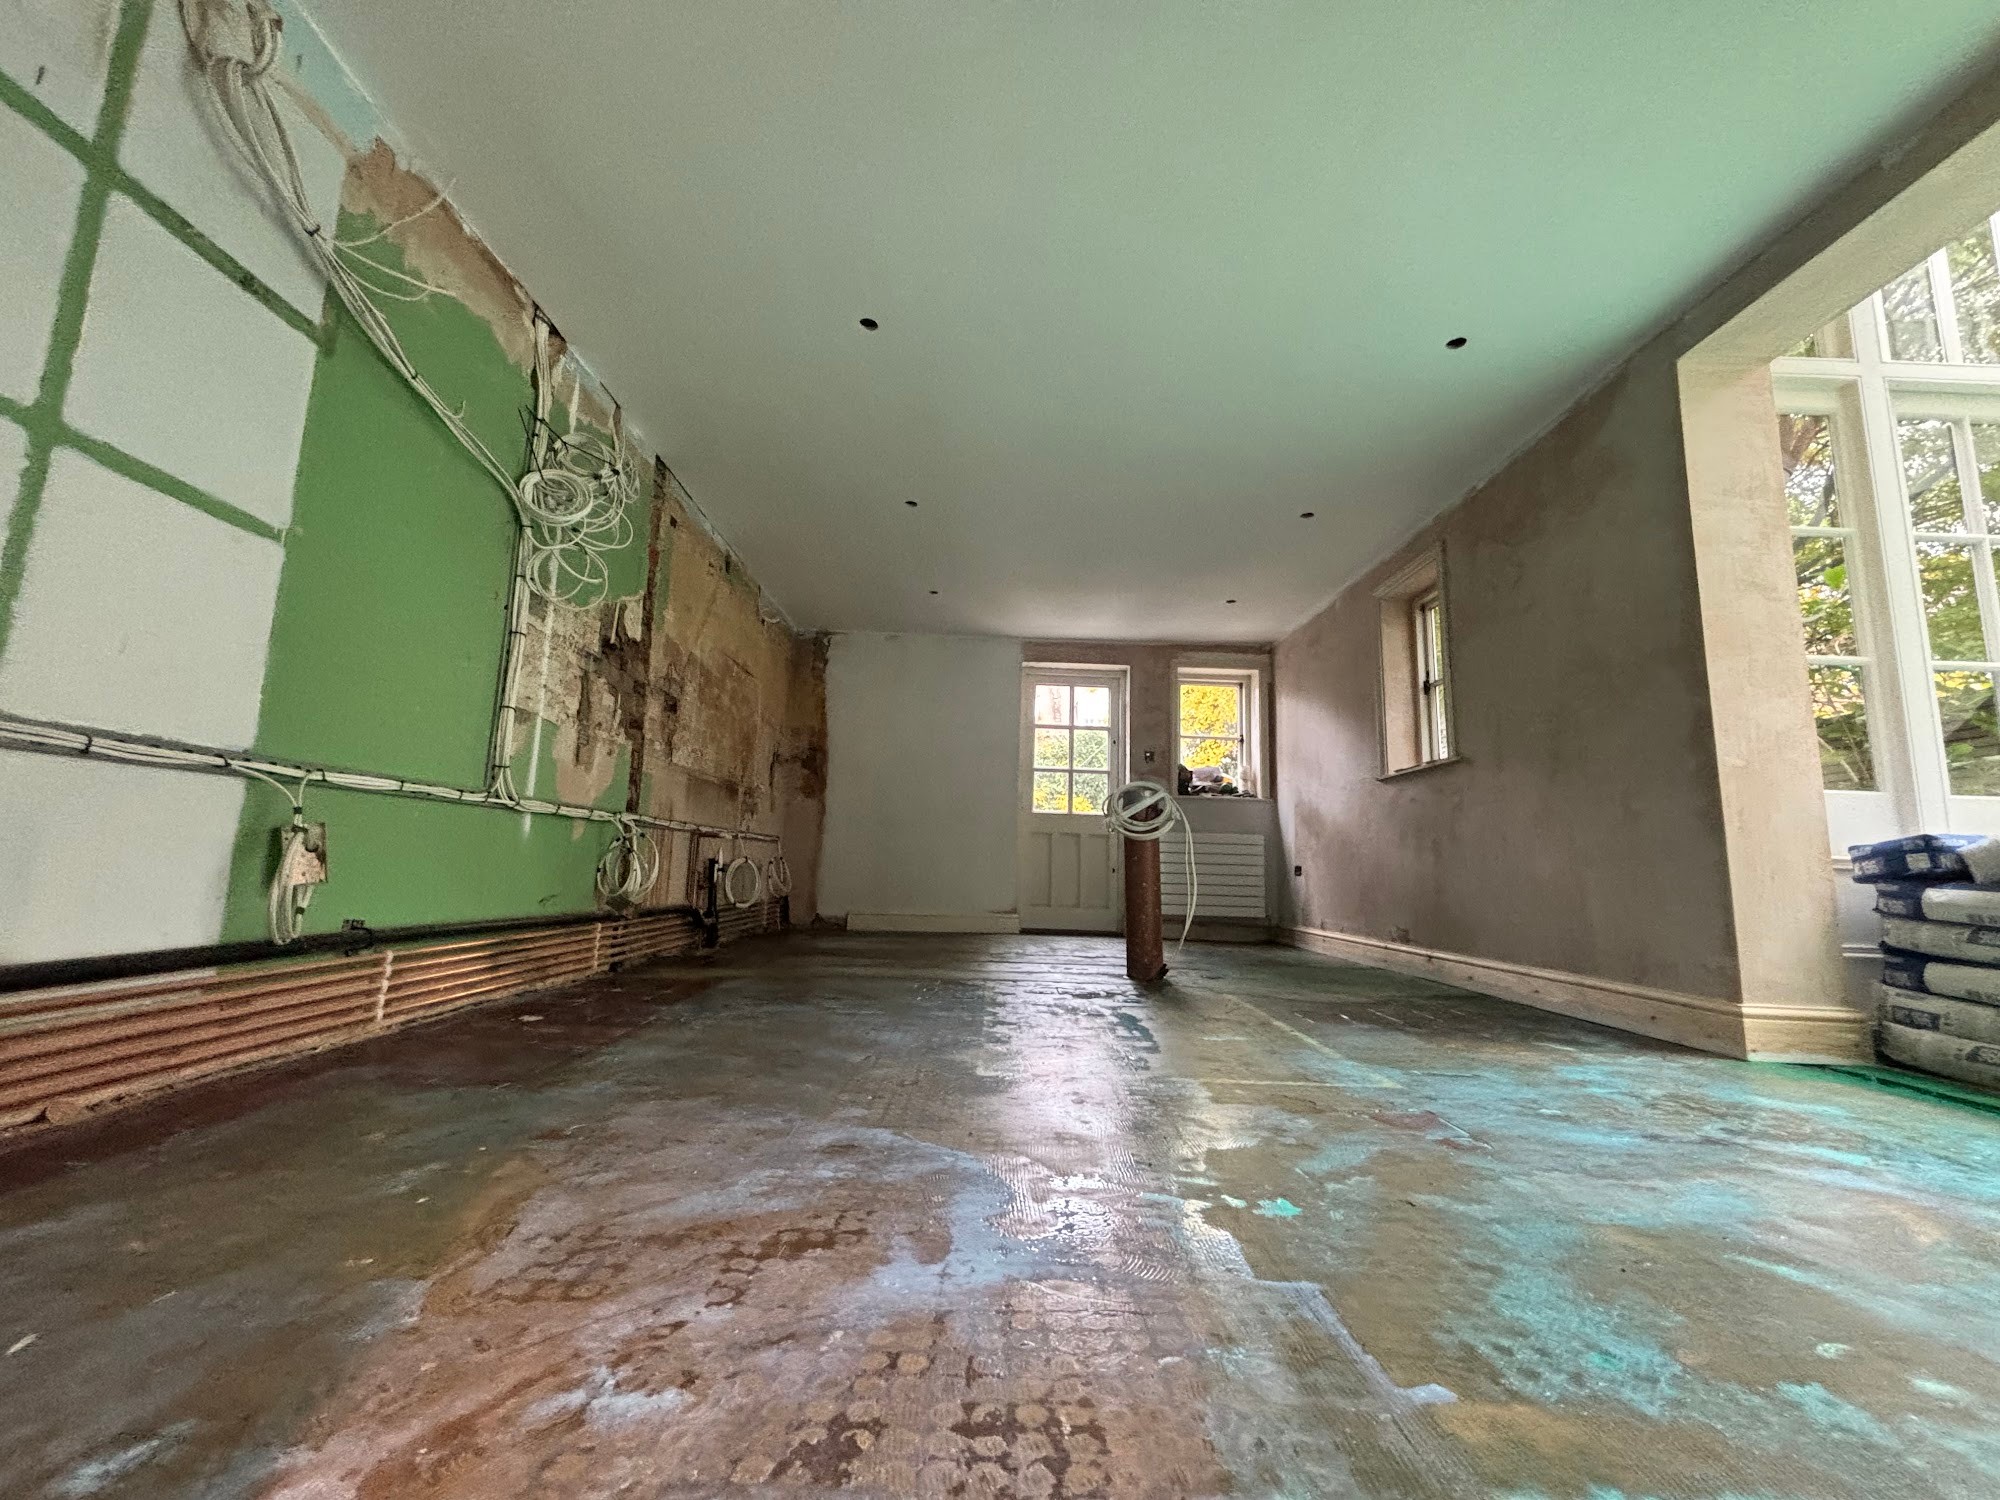
When we arrived, the kitchen/diner had been stripped back as part of the wider renovation, with walls opened up and services exposed. The existing floor carried the remains of old coverings and adhesive, while the conservatory still had its patterned tiled floor in place. Two very different surfaces, at slightly different conditions, needed to be brought together into one flat, uniform base.
Preparing the Subfloor
Priming
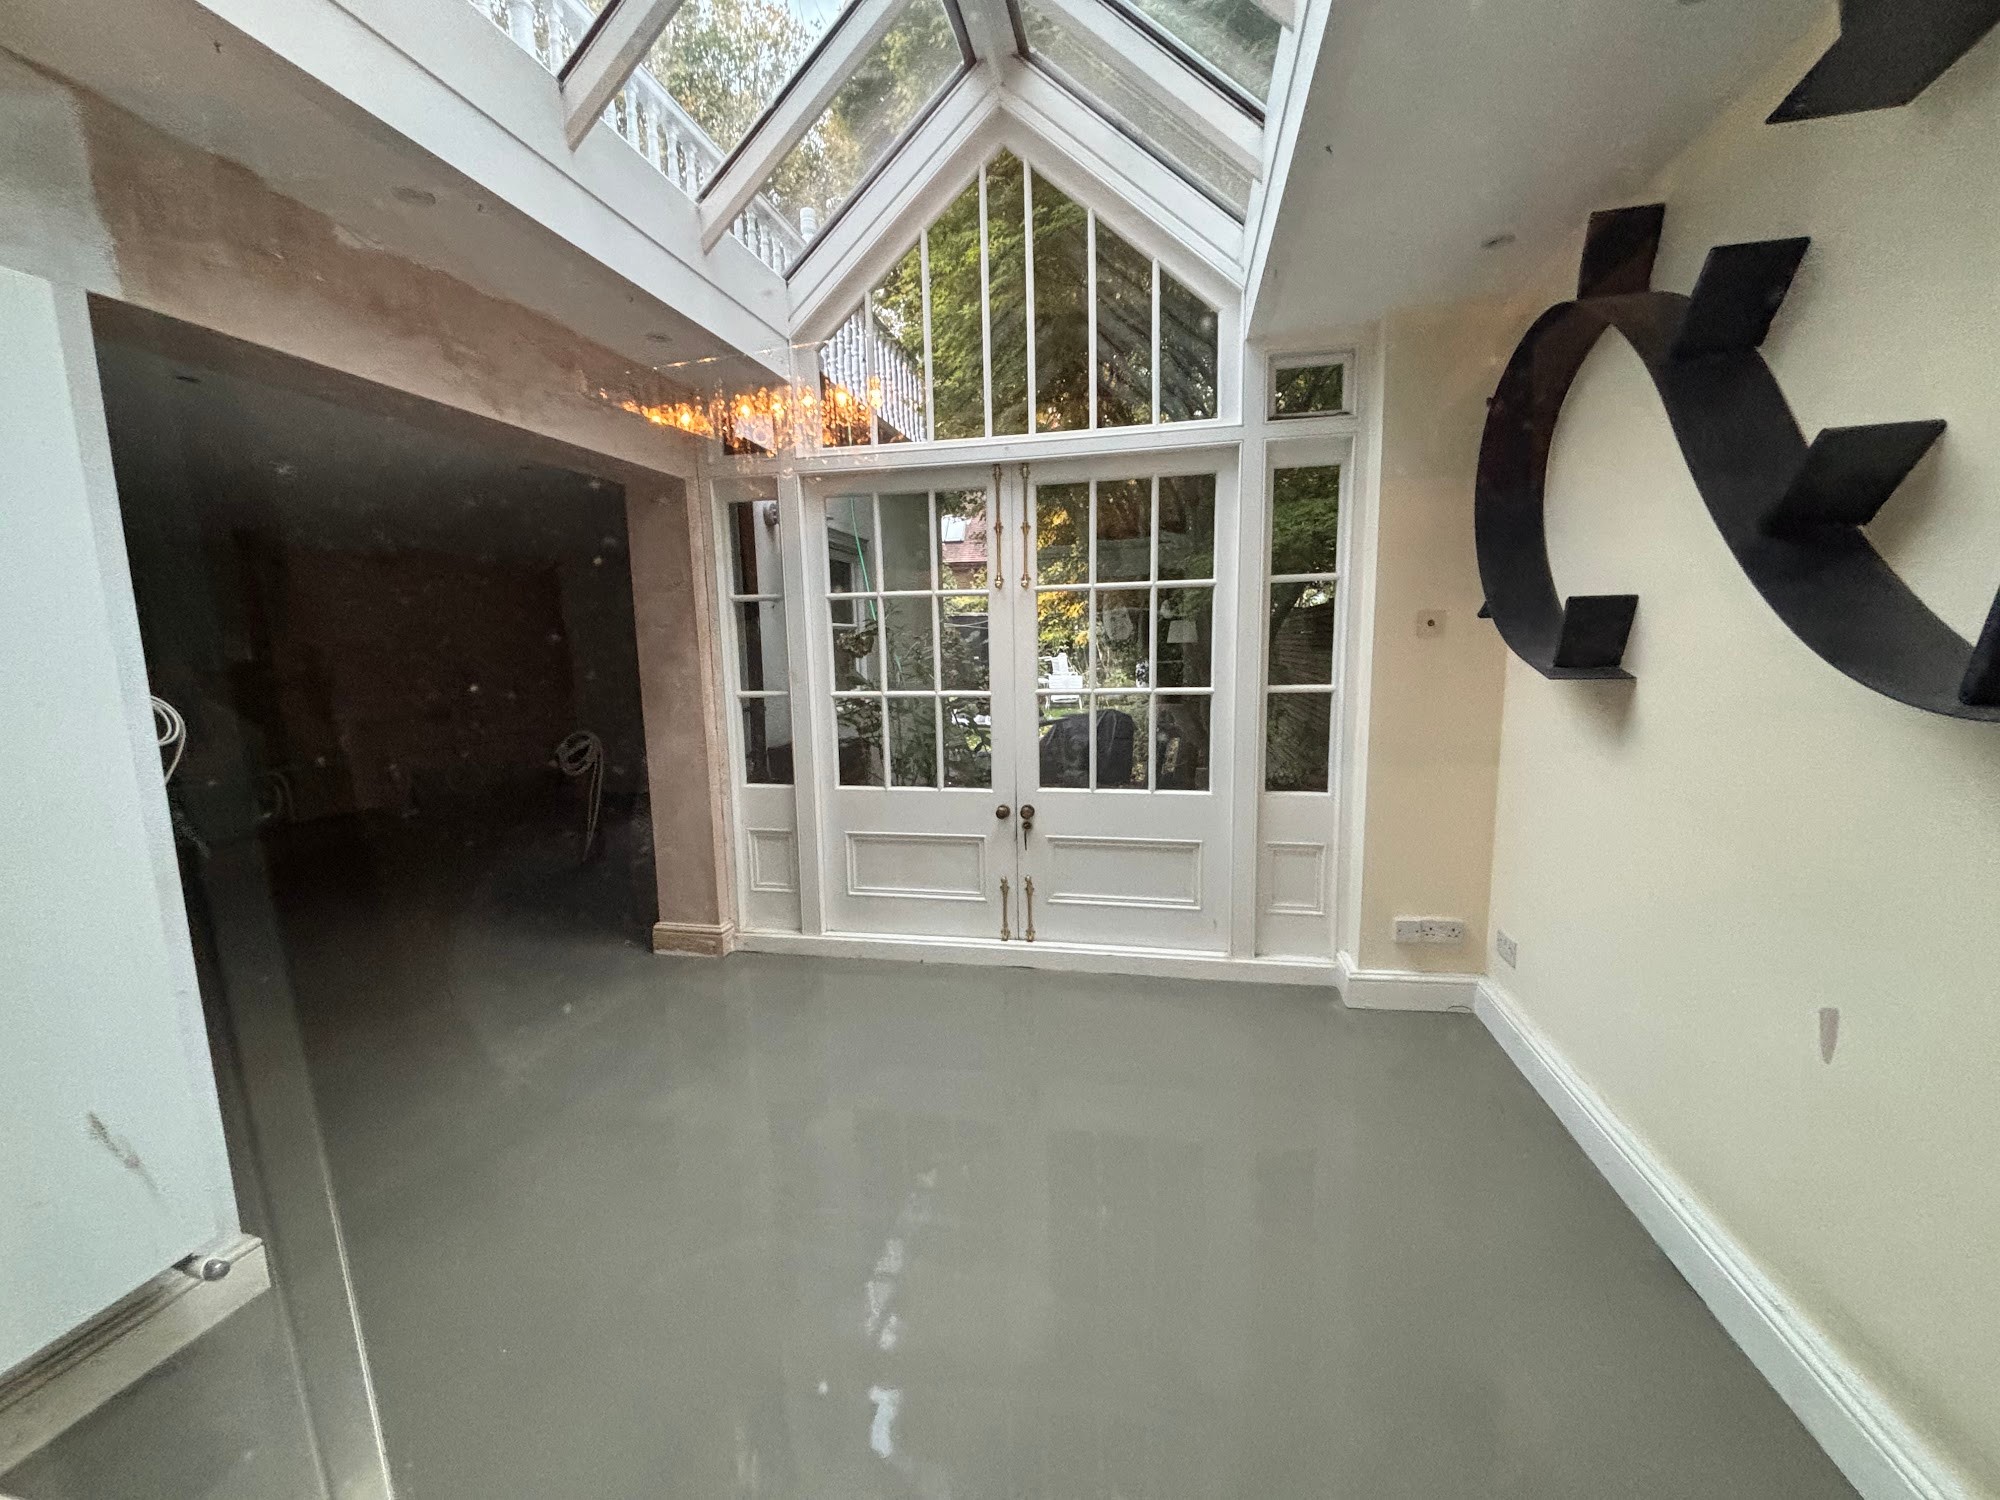
The first stage was to prime the subfloor throughout. Primer seals the surface, controls absorption and gives the levelling compound something to bond to properly. You can see the distinctive green primer coat across both the old kitchen floor and the conservatory tiles in our progress photos. Skipping or skimping on this step is one of the most common reasons a smoothing compound later cracks or lifts, so we never cut corners here.
Latexing
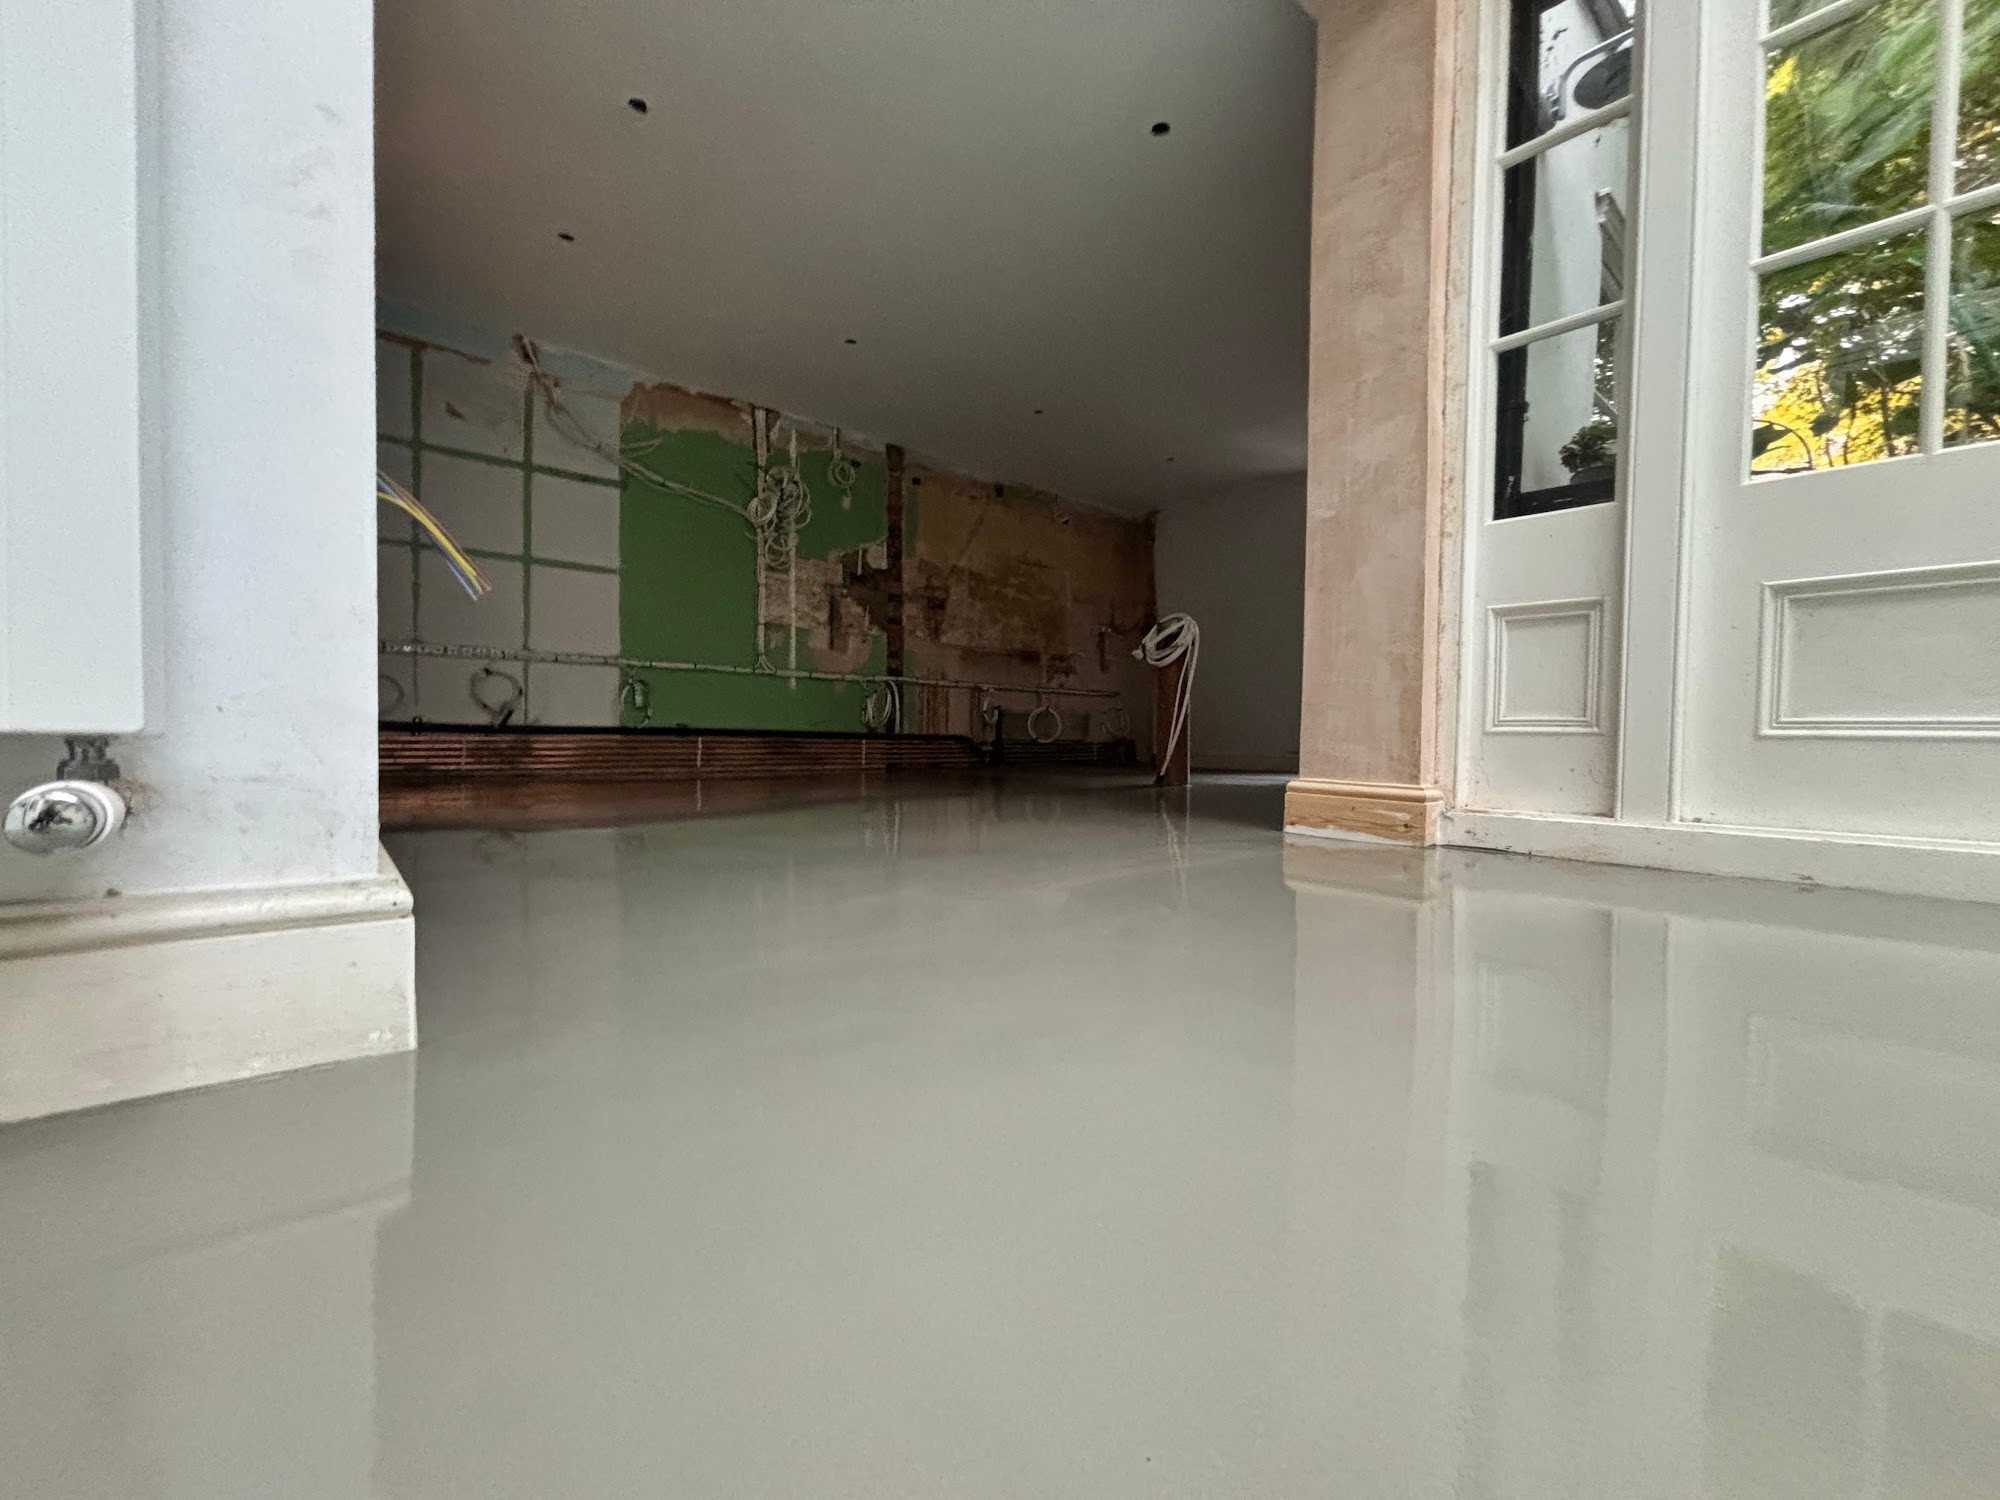
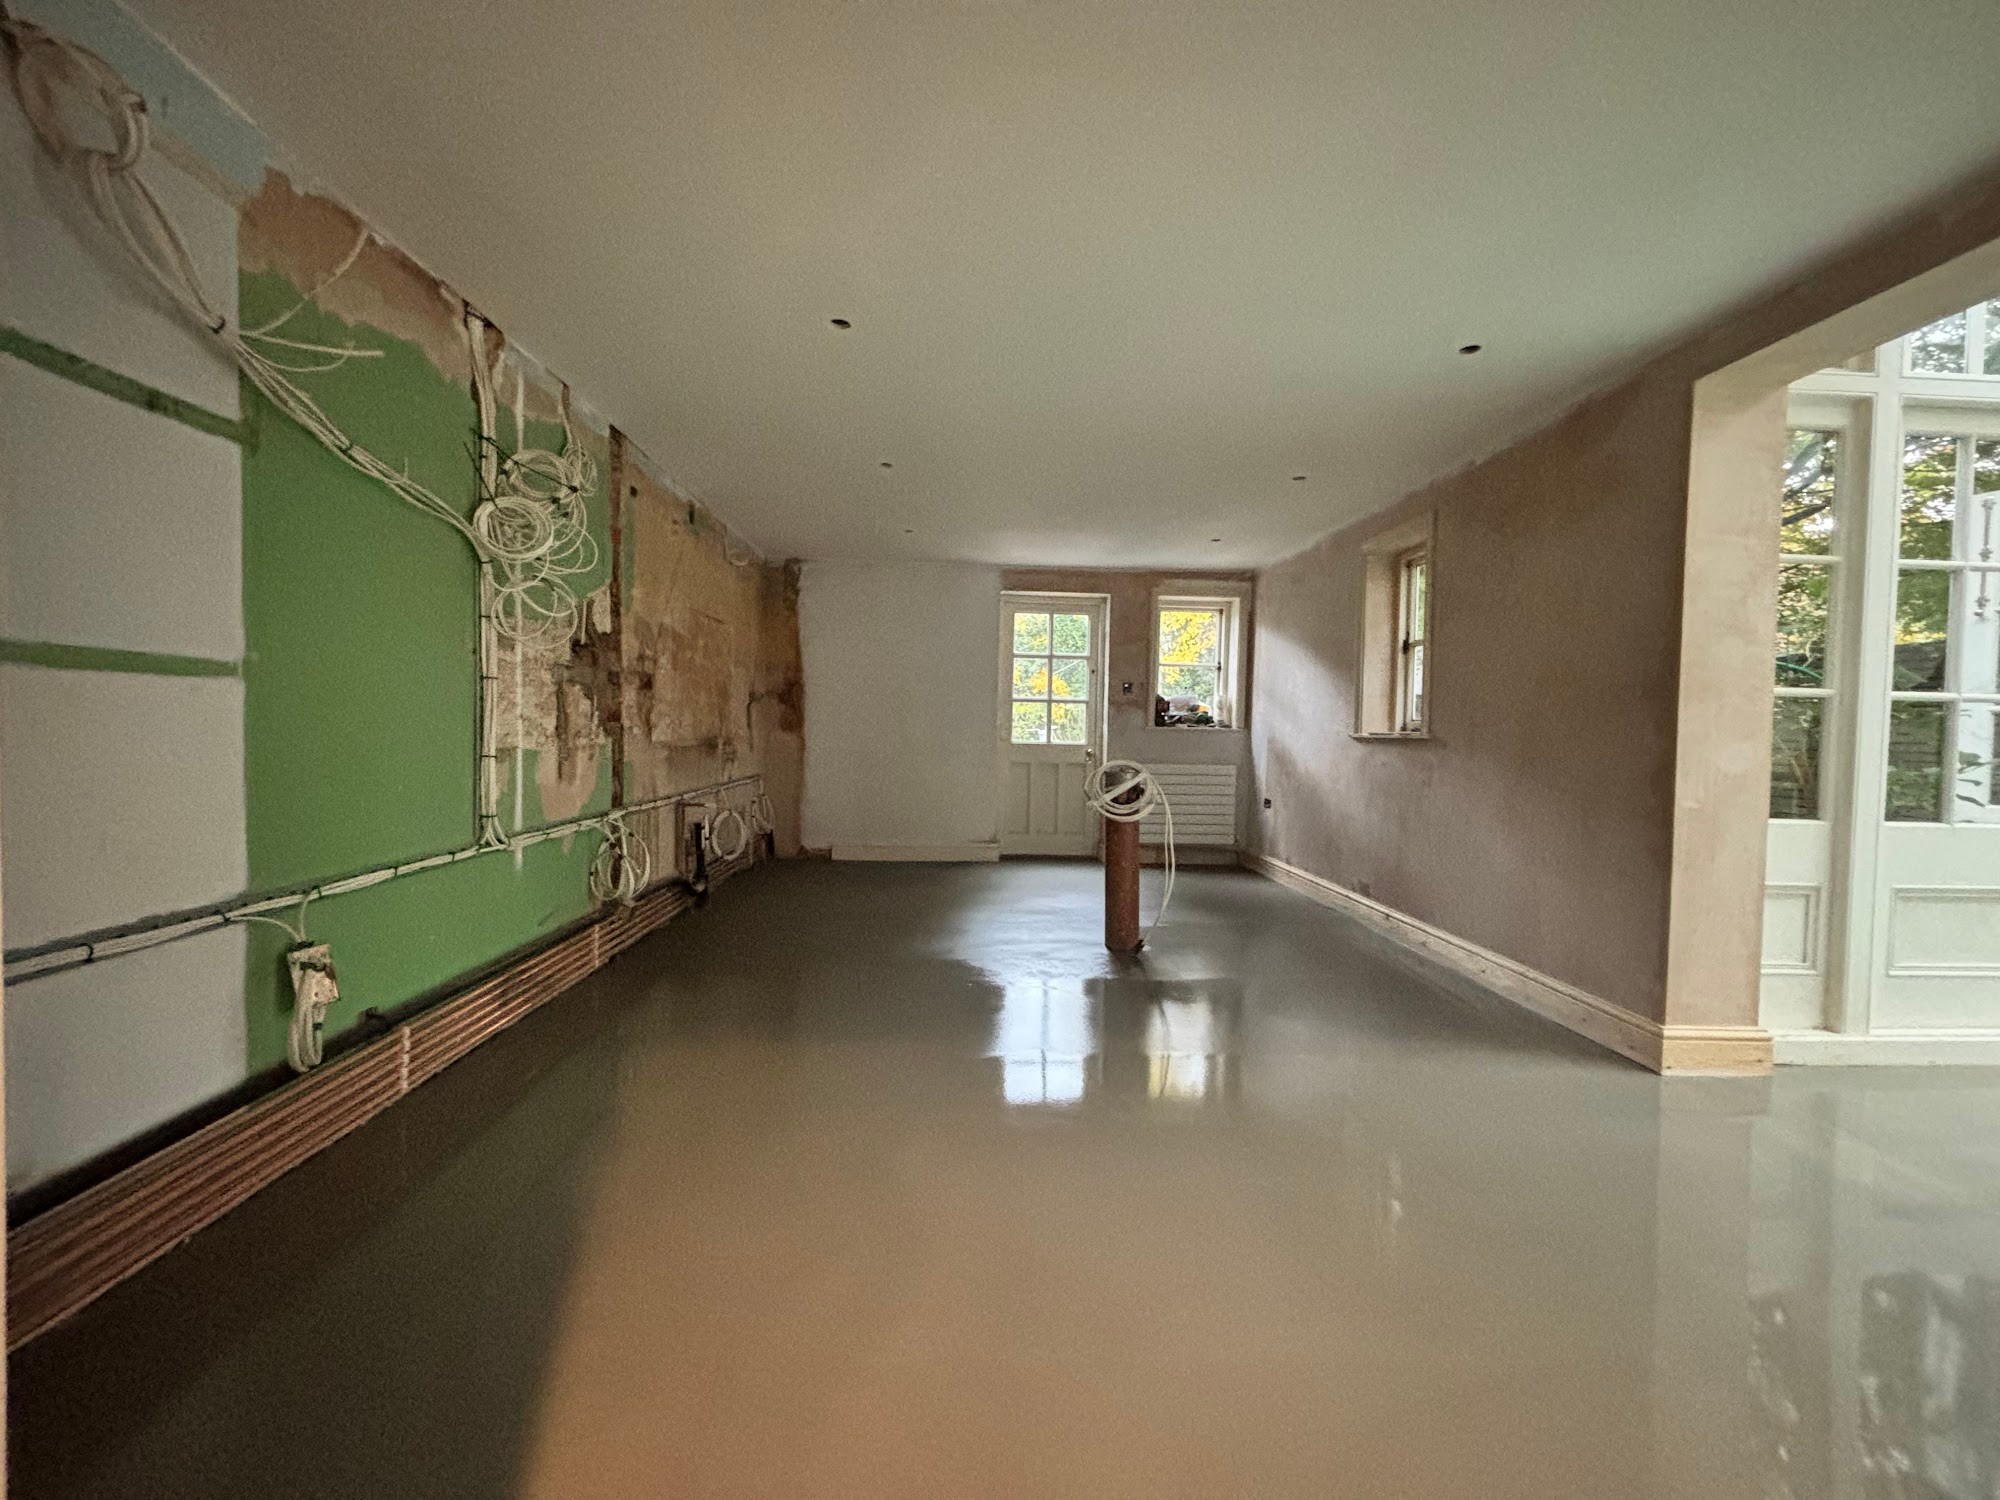
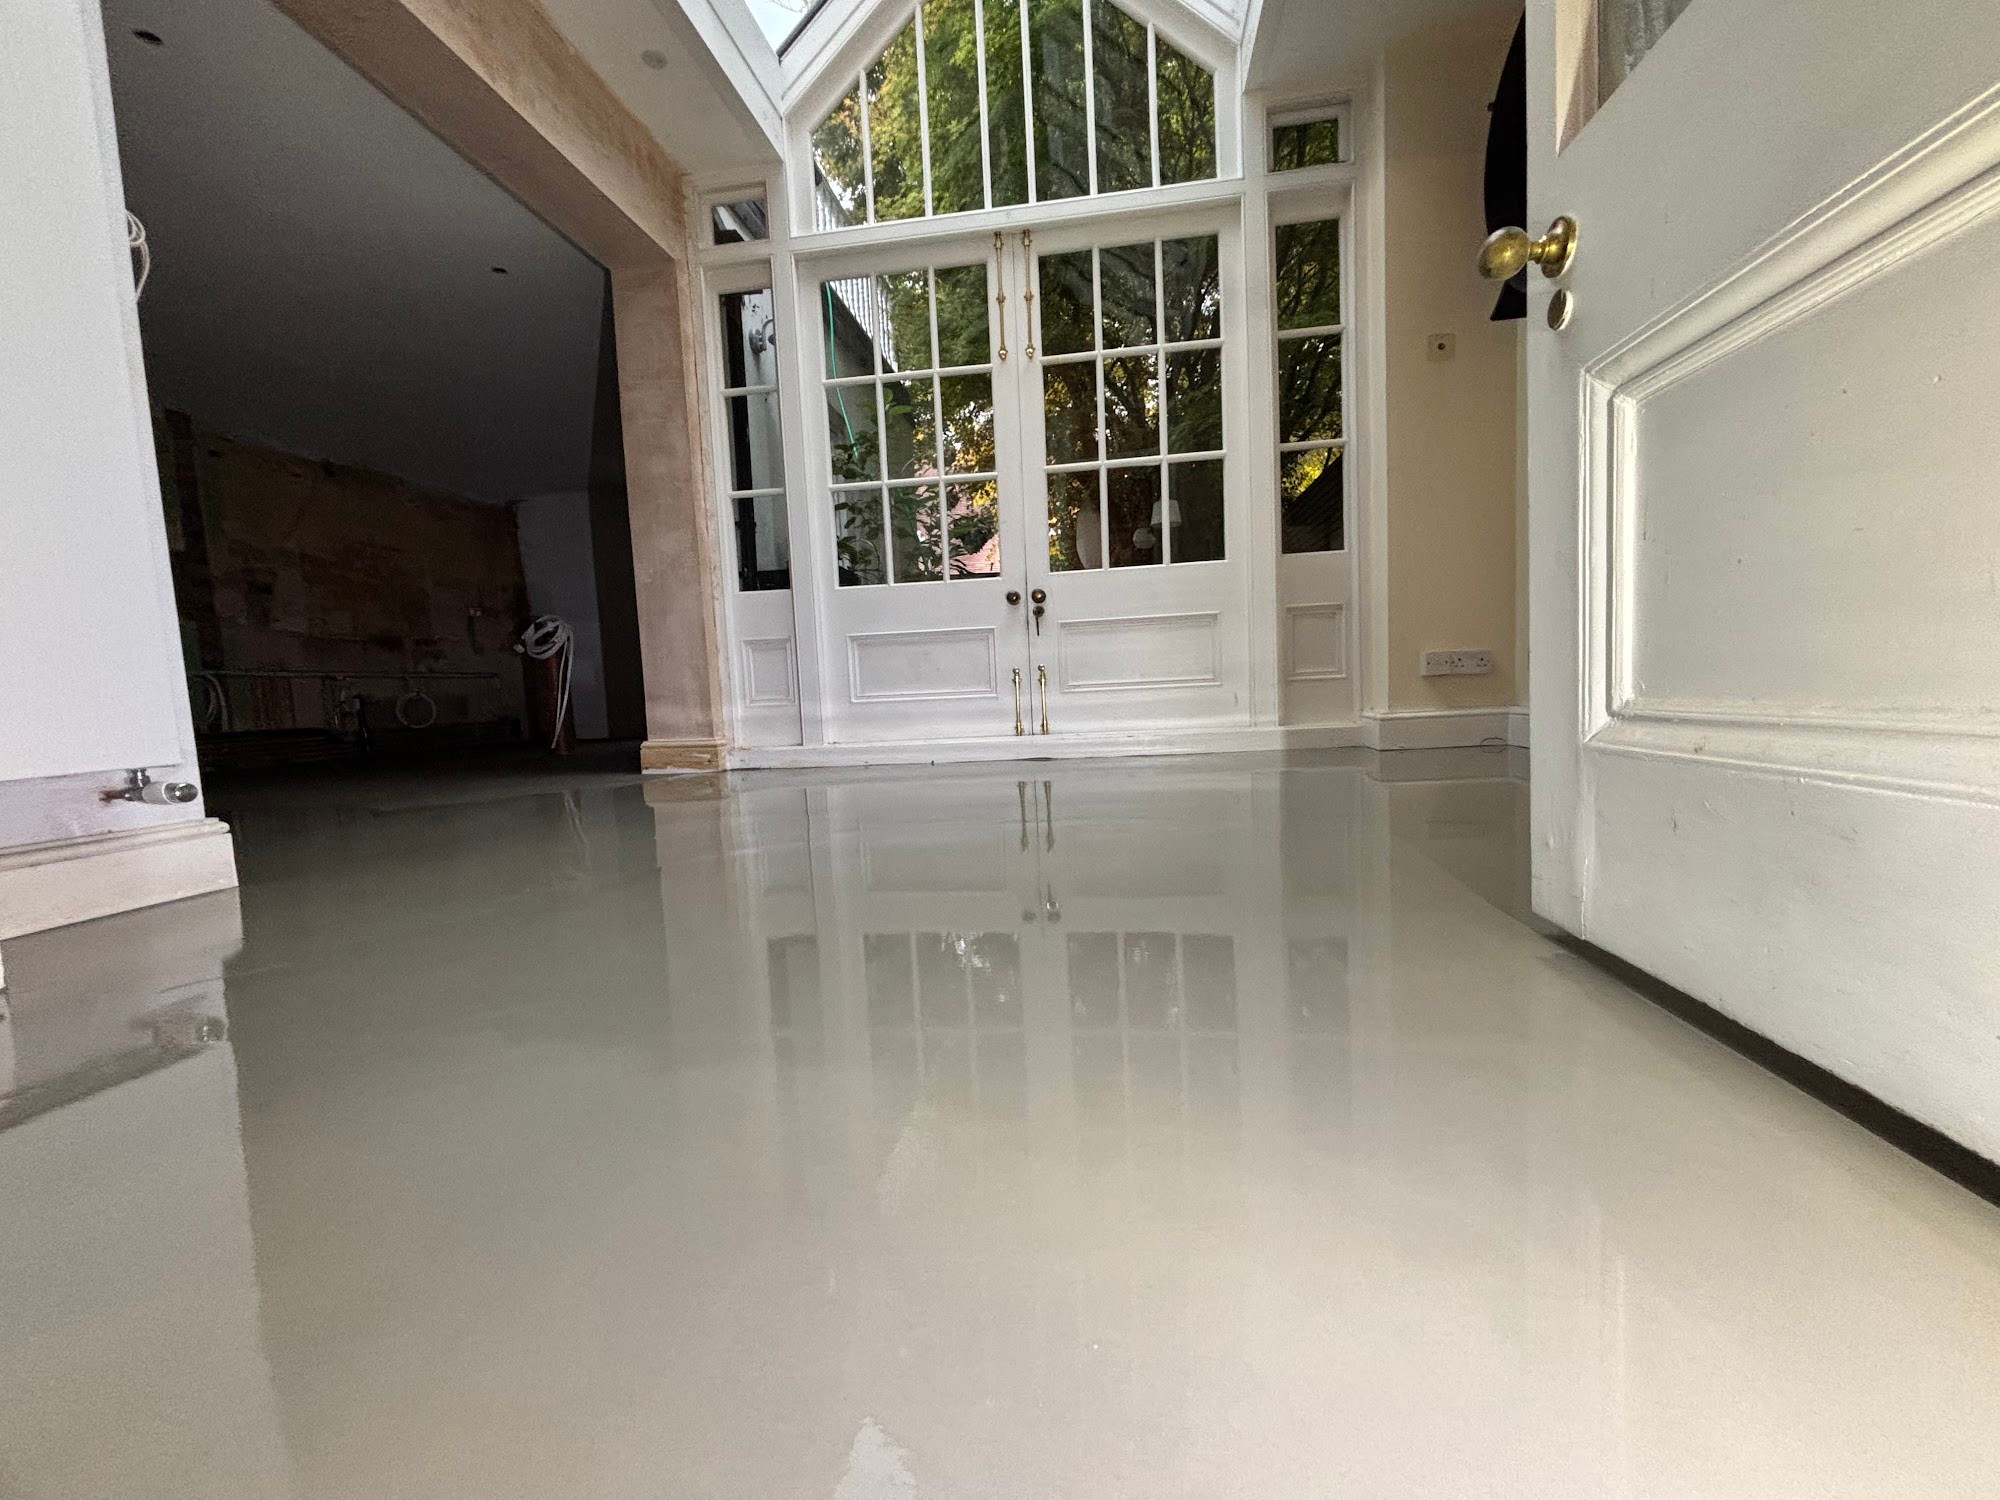
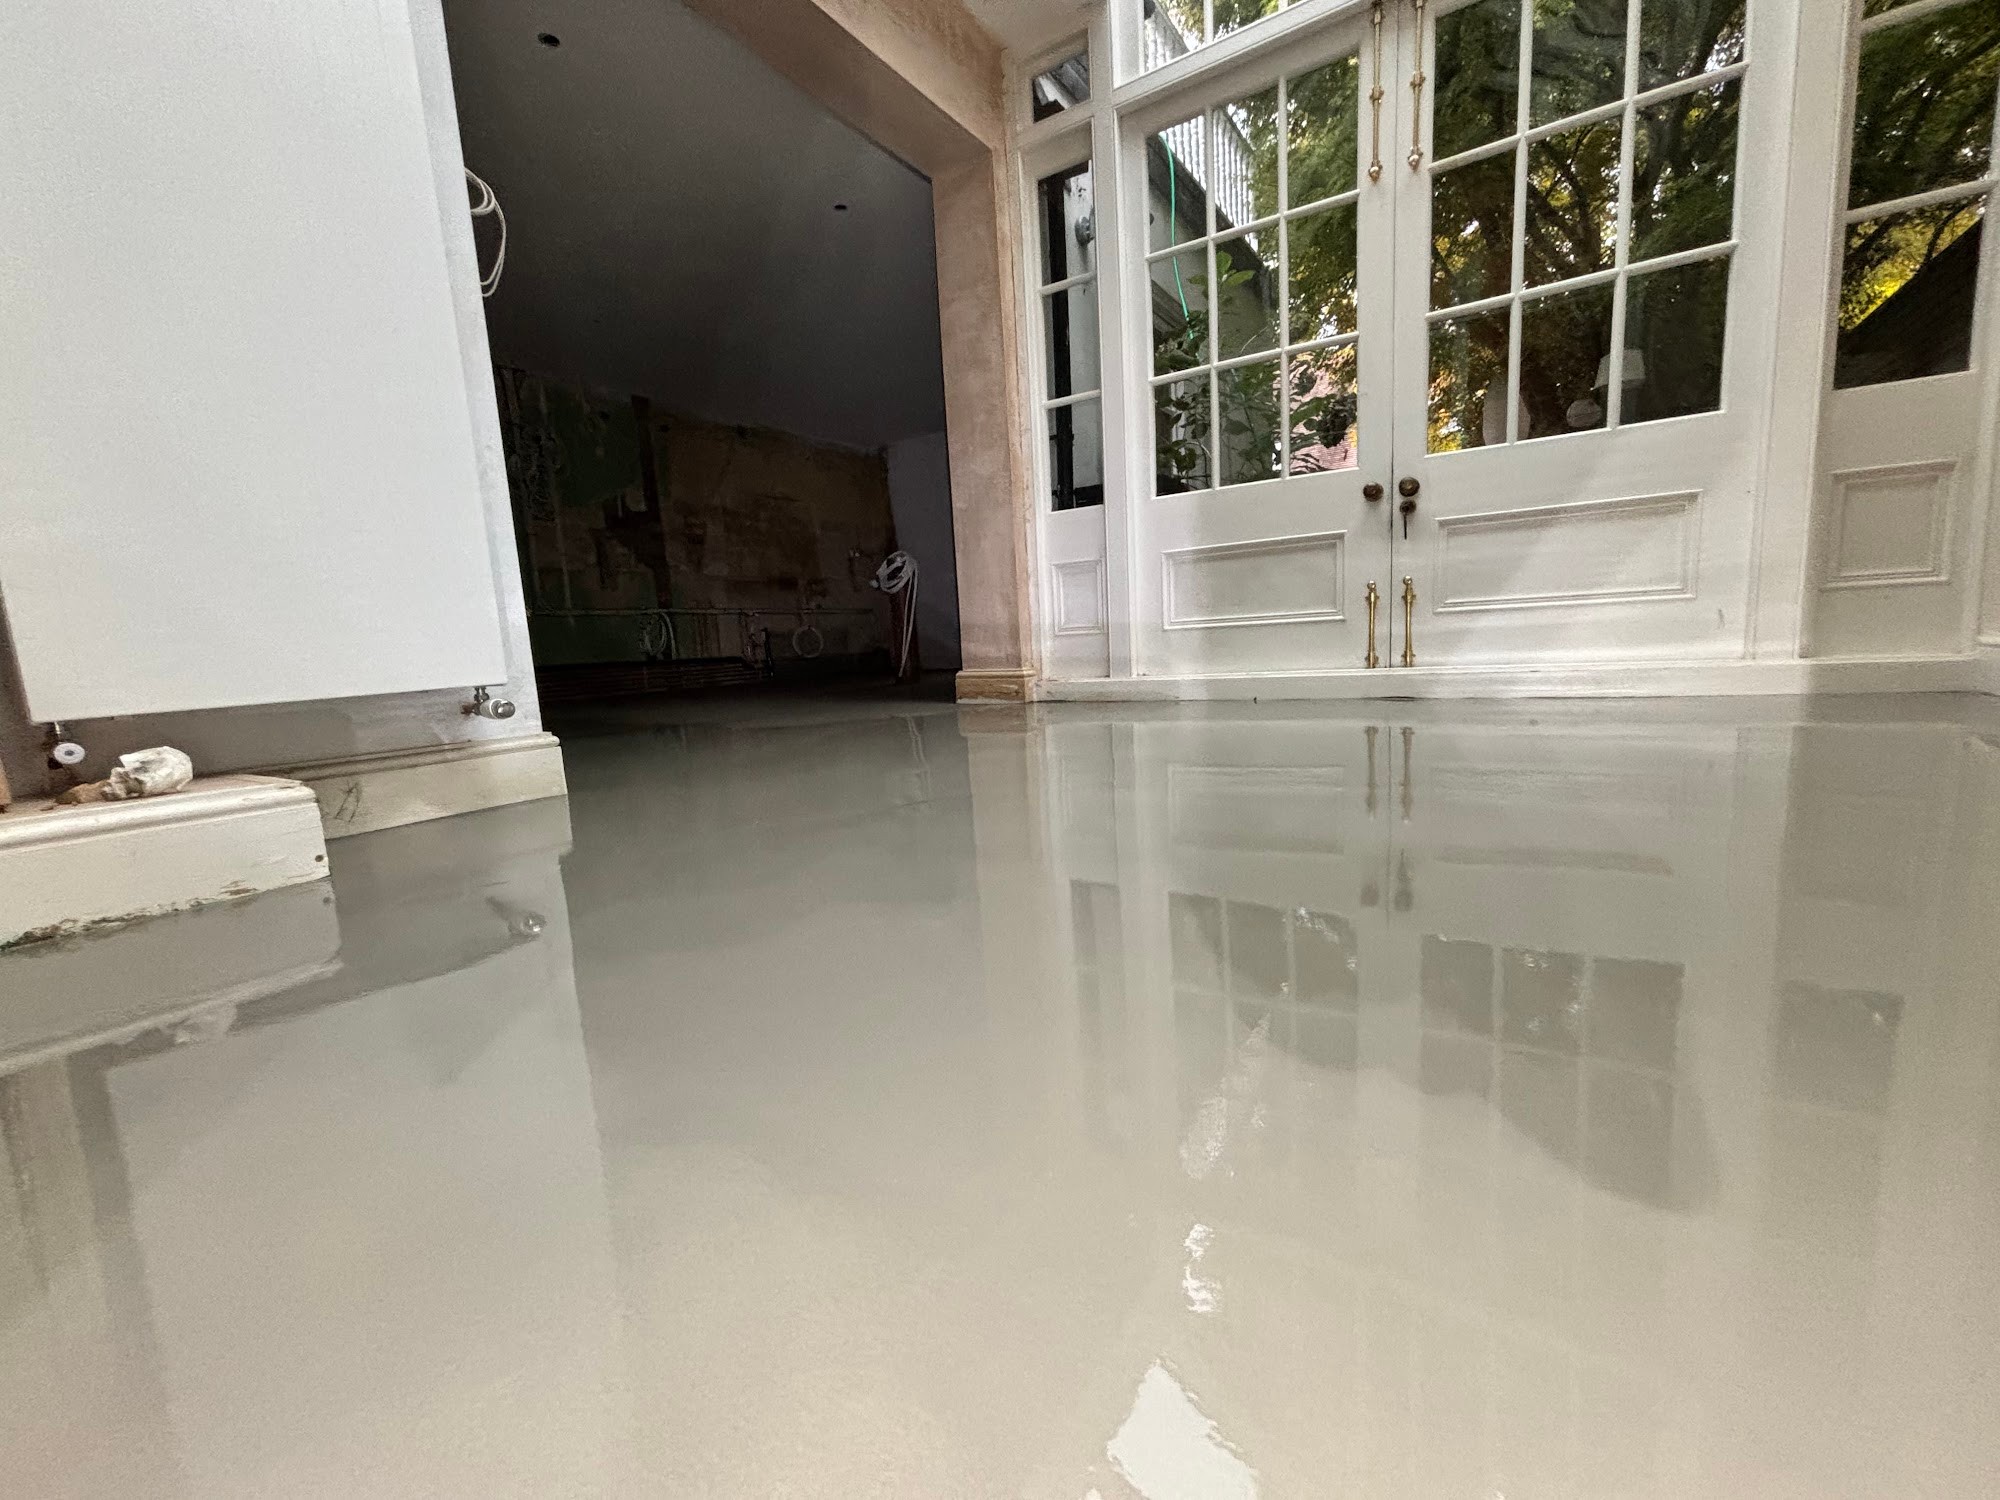
With the primer in place, we mixed and poured a latex levelling compound across the whole area. This self-smoothing layer flows out to create a flat, consistent surface, covering the old tile patterns and the uneven patches of the previous floor alike. The glossy, mirror-like finish in our photos, reflecting the conservatory’s French doors and glazing, gives a good sense of just how level the base became once the compound had settled.
Pouring latex across a large, connected space like this takes planning. The compound needs to be mixed consistently and laid in a continuous flow so that there are no visible joins or ridges between pours, particularly where the kitchen/diner opens through into the conservatory.
Grinding and Feathering
Once the latex had cured, we ground the edges and feathered out any remaining imperfections. This is the fine-tuning stage: running a hand and an eye over every part of the floor, paying special attention to the perimeters and thresholds, and blending any slight high spots or edges so they disappear entirely. With a material as unforgiving as rubber, this extra attention is what separates a good floor from an excellent one.
Setting Out and Laying the Rubber Tiles
With a smooth, sound base ready, we turned to the rubber itself. The tiles were carefully set out before any adhesive went down. Setting out properly matters in an open-plan space: it ensures the tiles run true through the kitchen, diner and conservatory, that cuts at the edges are balanced, and that the floor reads as one cohesive surface rather than three separate rooms.
The tiles were then stuck down firmly to the prepared subfloor, giving a secure, fully bonded installation that will stay flat and stable for years to come.
A Neat Transition to the Timber Floor
Where the new rubber floor met the existing timber floor, there was a change in level to deal with. Rather than leaving an abrupt step, we formed a small ramp and fitted a trim, creating a smooth, tidy transition between the two materials. It is a modest detail, but it makes a real difference to how a home feels to walk through, and it protects the edges of both floors from wear.
The Finished Result
The outcome is a level, smooth rubber floor running seamlessly through the kitchen, dining area and conservatory, with a neat, considered transition to the existing timber. Thanks to the careful preparation underneath, the finished surface is flat and even, ready to serve as the backdrop for the rest of the renovation as it comes together.
Why Preparation Makes All the Difference
Projects like this one are a good reminder that the quality of a floor is decided long before the final product goes down. Our approach always includes:
- Thorough priming to seal and bond the subfloor
- Professional latex levelling to create a flat, consistent base
- Grinding and feathering to remove even small imperfections
- Careful setting out so the finished floor looks balanced and continuous
- Thoughtful transitions wherever new flooring meets existing surfaces
If you are planning a kitchen, extension or conservatory project in Chiswick or elsewhere across London and would like a floor that is laid properly from the ground up, Cavendish deVere would be delighted to help. Get in touch to discuss your plans and arrange a survey.
 |
 |
 |
 |
 |
 |
 |


Recent Comments