Installing a polished concrete floor in Hackney, London
Hackney has a certain look and feel in winter: grey skies, brick warehouses, big windows, and that unmistakable “urban cool” that makes industrial interiors feel right at home. So when a customer in a Hackney apartment asked us for a polished concrete floor installation with a raw, modern edge, we knew exactly the direction to take. The goal was a floor that looked like it belonged in the heart of East London—clean, minimal, tough, and beautifully refined.
What made this job especially interesting was the timing. Installing a polished concrete-style finish in winter comes with a few extra considerations, and this apartment had one big variable: underfloor heating. The heating had been left on, which meant we had to adjust our schedule to protect the finish and get the best possible result.
The brief: Urban, industrial, and built for Hackney living
The customer wanted a finish that felt industrial but premium—the kind of floor that looks effortless but performs like a hard-wearing surface should. Polished concrete floors are perfect for this: they pair brilliantly with exposed brick, black metal, timber furniture, and modern lighting, while staying easy to clean and maintain. In a busy London apartment, that matters.
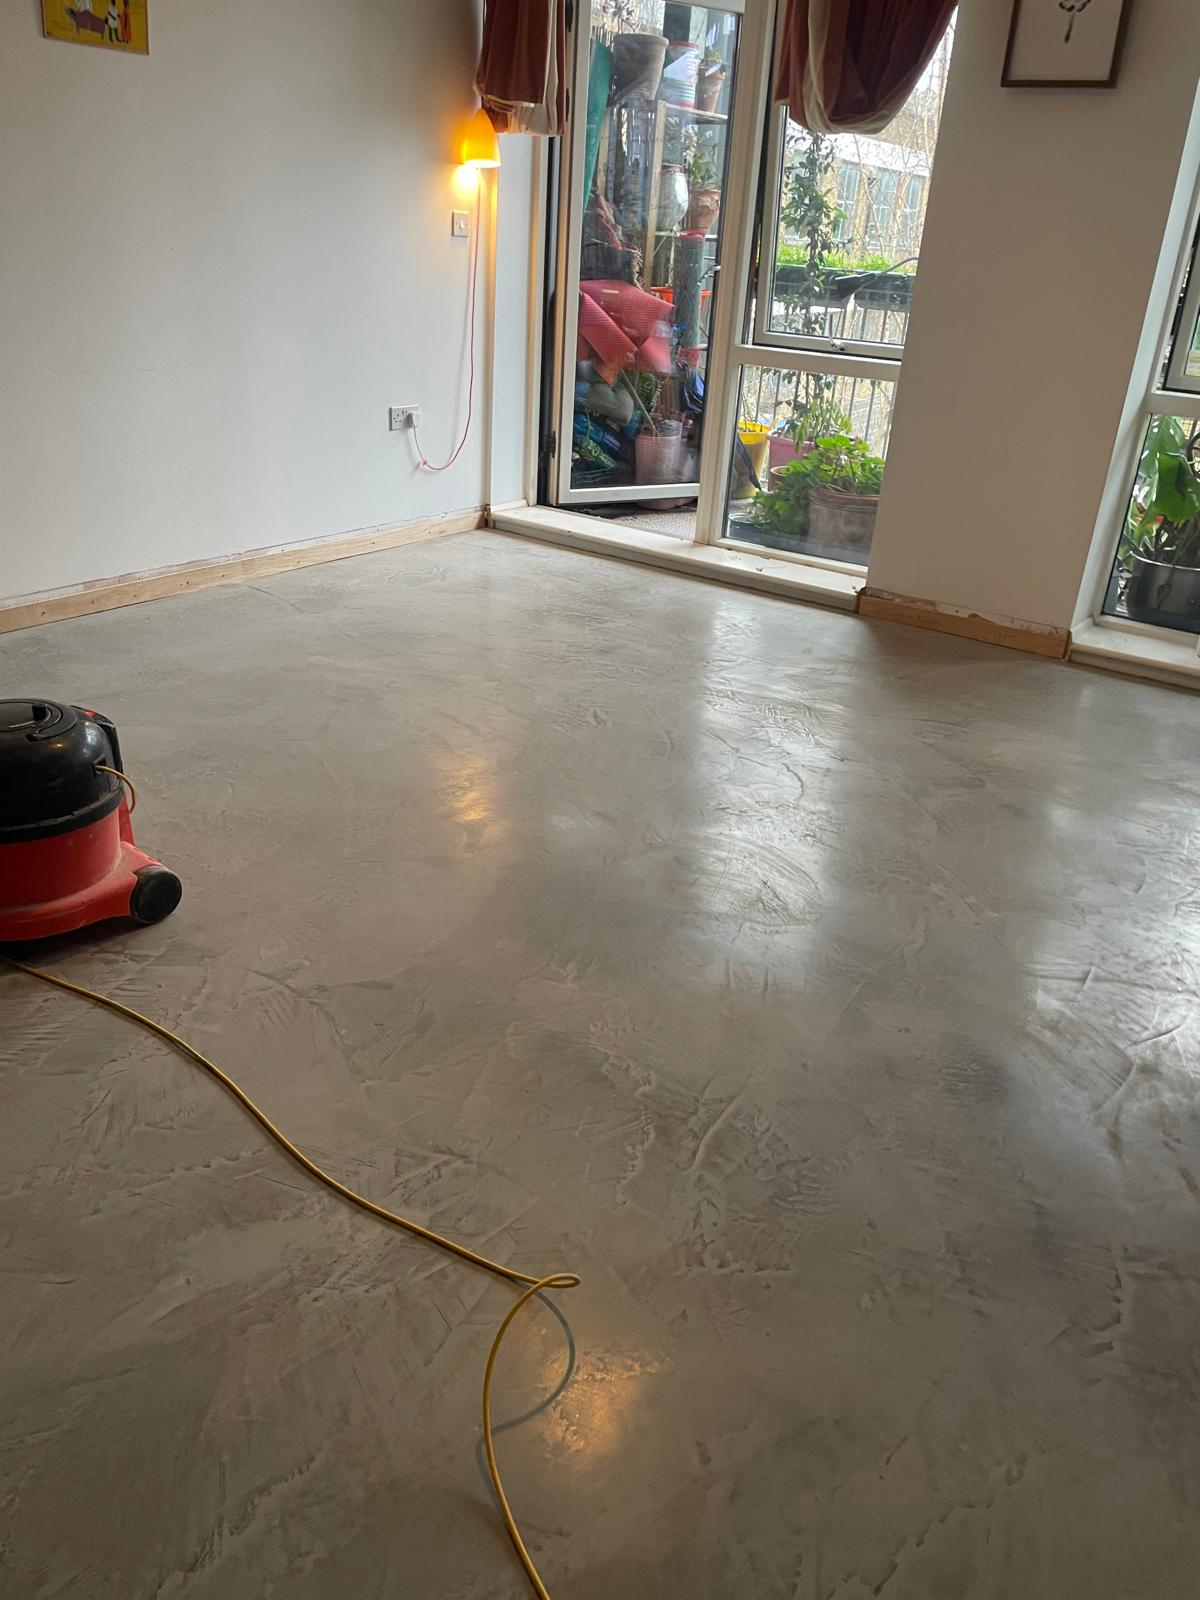
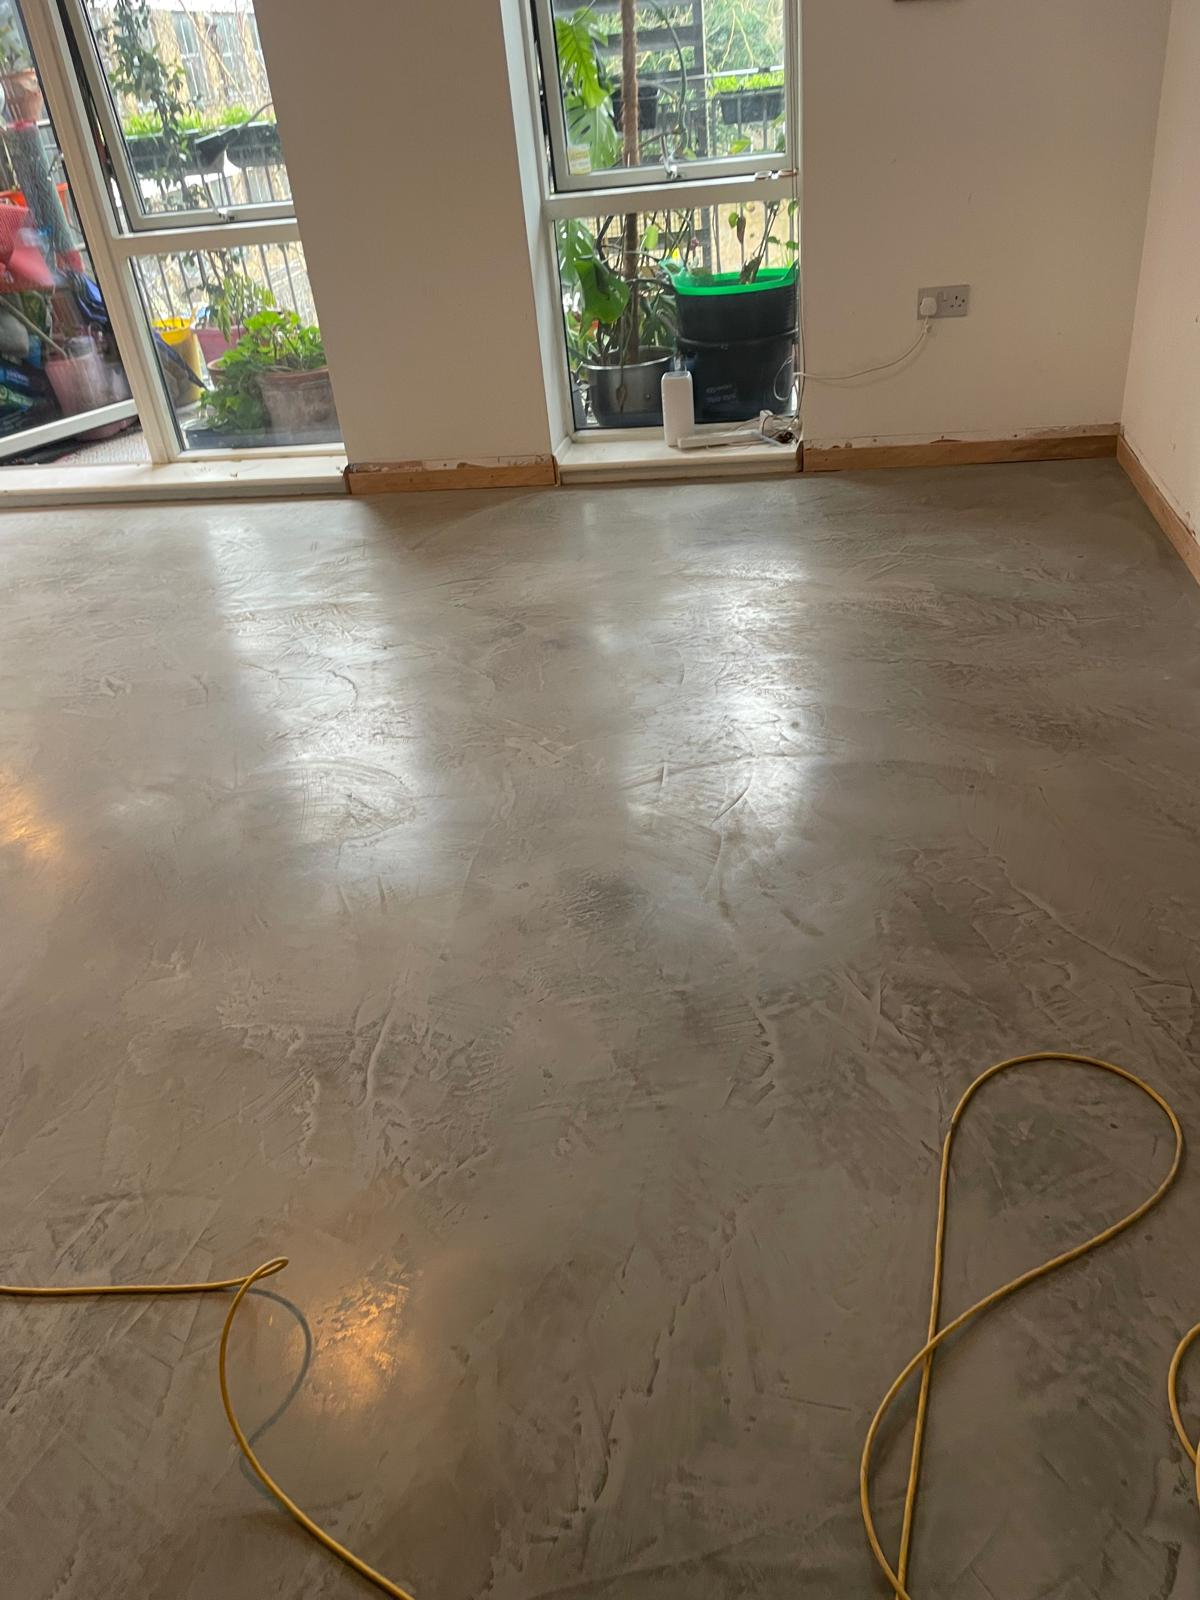
The space itself had great bones: open-plan layout, modern lines, and plenty of natural light. Our job was to create a floor that would elevate the whole place without making it feel over-designed. The end result needed to be smooth, seamless, and understated—exactly what you’d expect from a polished concrete floor in Hackney.
Winter conditions and underfloor heating: why we waited an extra day
In winter, temperature and drying times can make or break a polished finish. And with underfloor heating, it’s even more important to control conditions properly.
On this project, the underfloor heating had been left on earlier in the week. That can cause problems if you apply products onto a surface that’s still releasing heat unevenly. You risk:
-
rapid drying on the surface but slower curing underneath
-
cracking, shrinkage, or weak spots in the levelling layer
-
a finish that doesn’t polish evenly
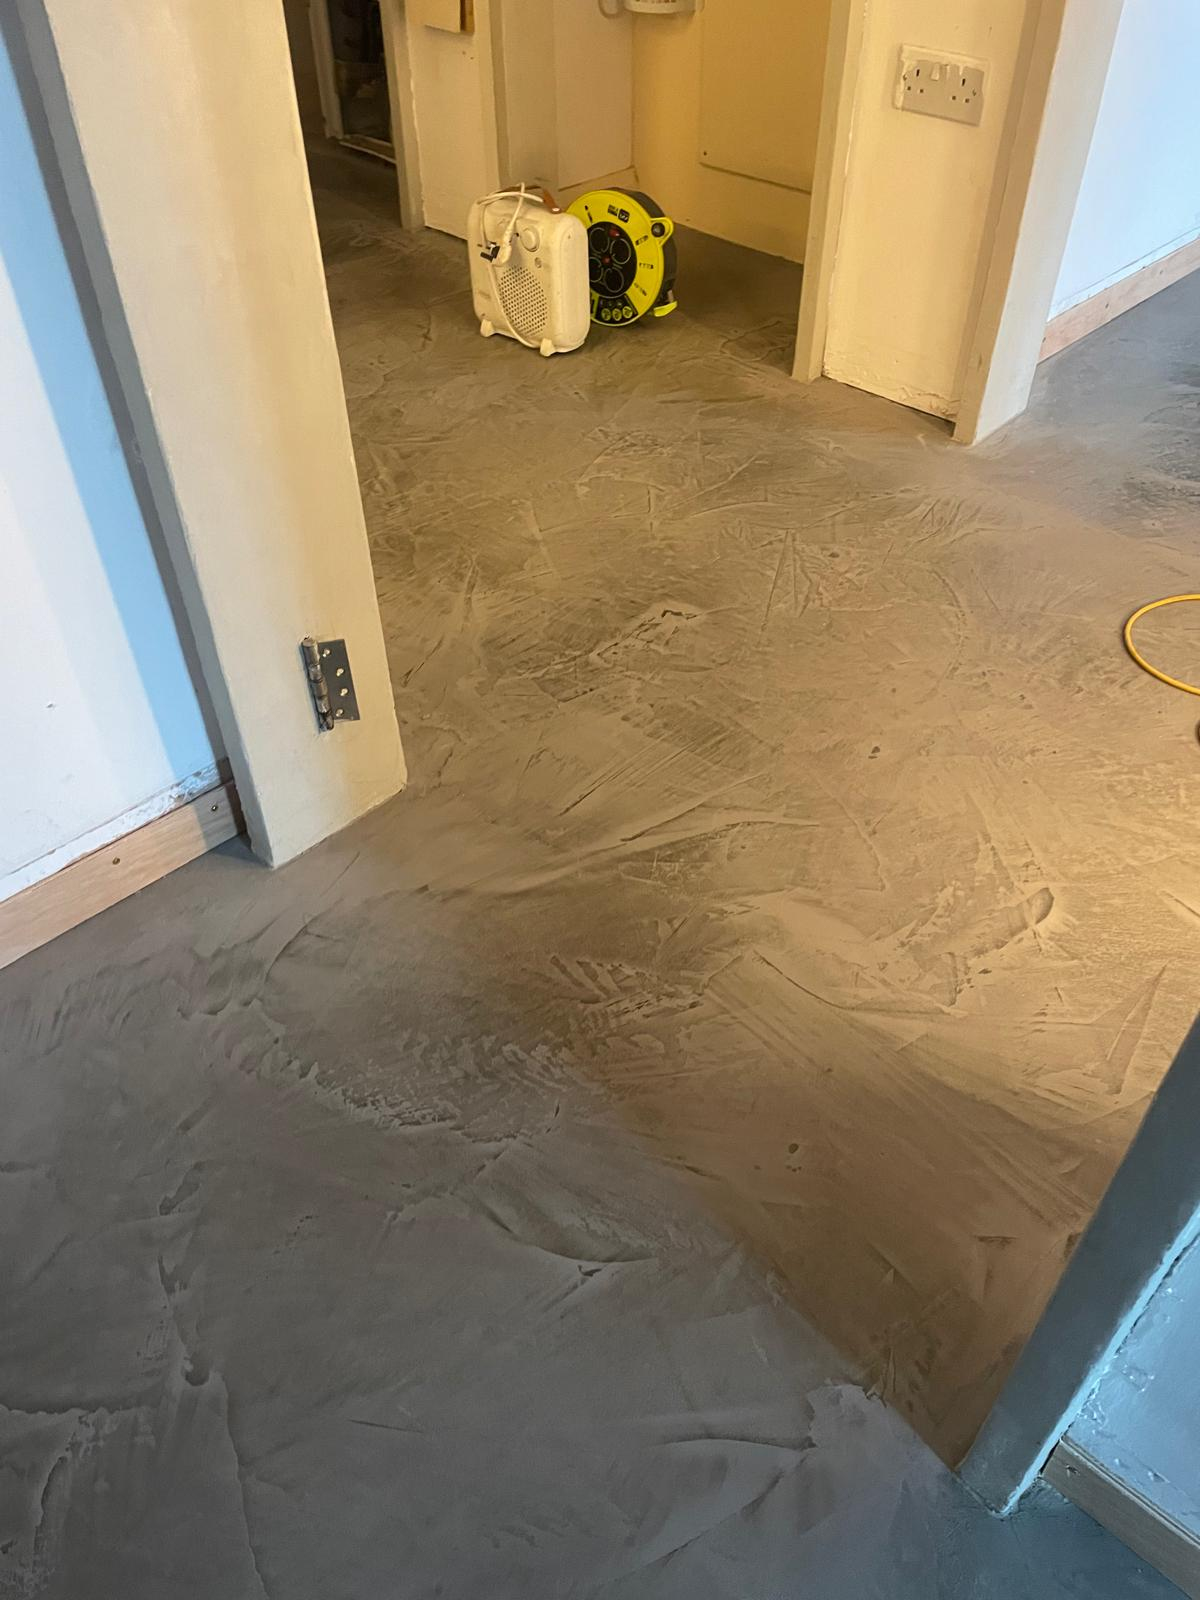
So instead of rushing, we did the smart thing: we waited an extra day to let the floor cool down fully and allow the screed and levelling materials to set correctly. That one-day pause protects the quality of the final finish—and saves the client from future issues.
Our method: How we installed the polished concrete-style floor
Here’s the step-by-step method we used on this Hackney apartment project.
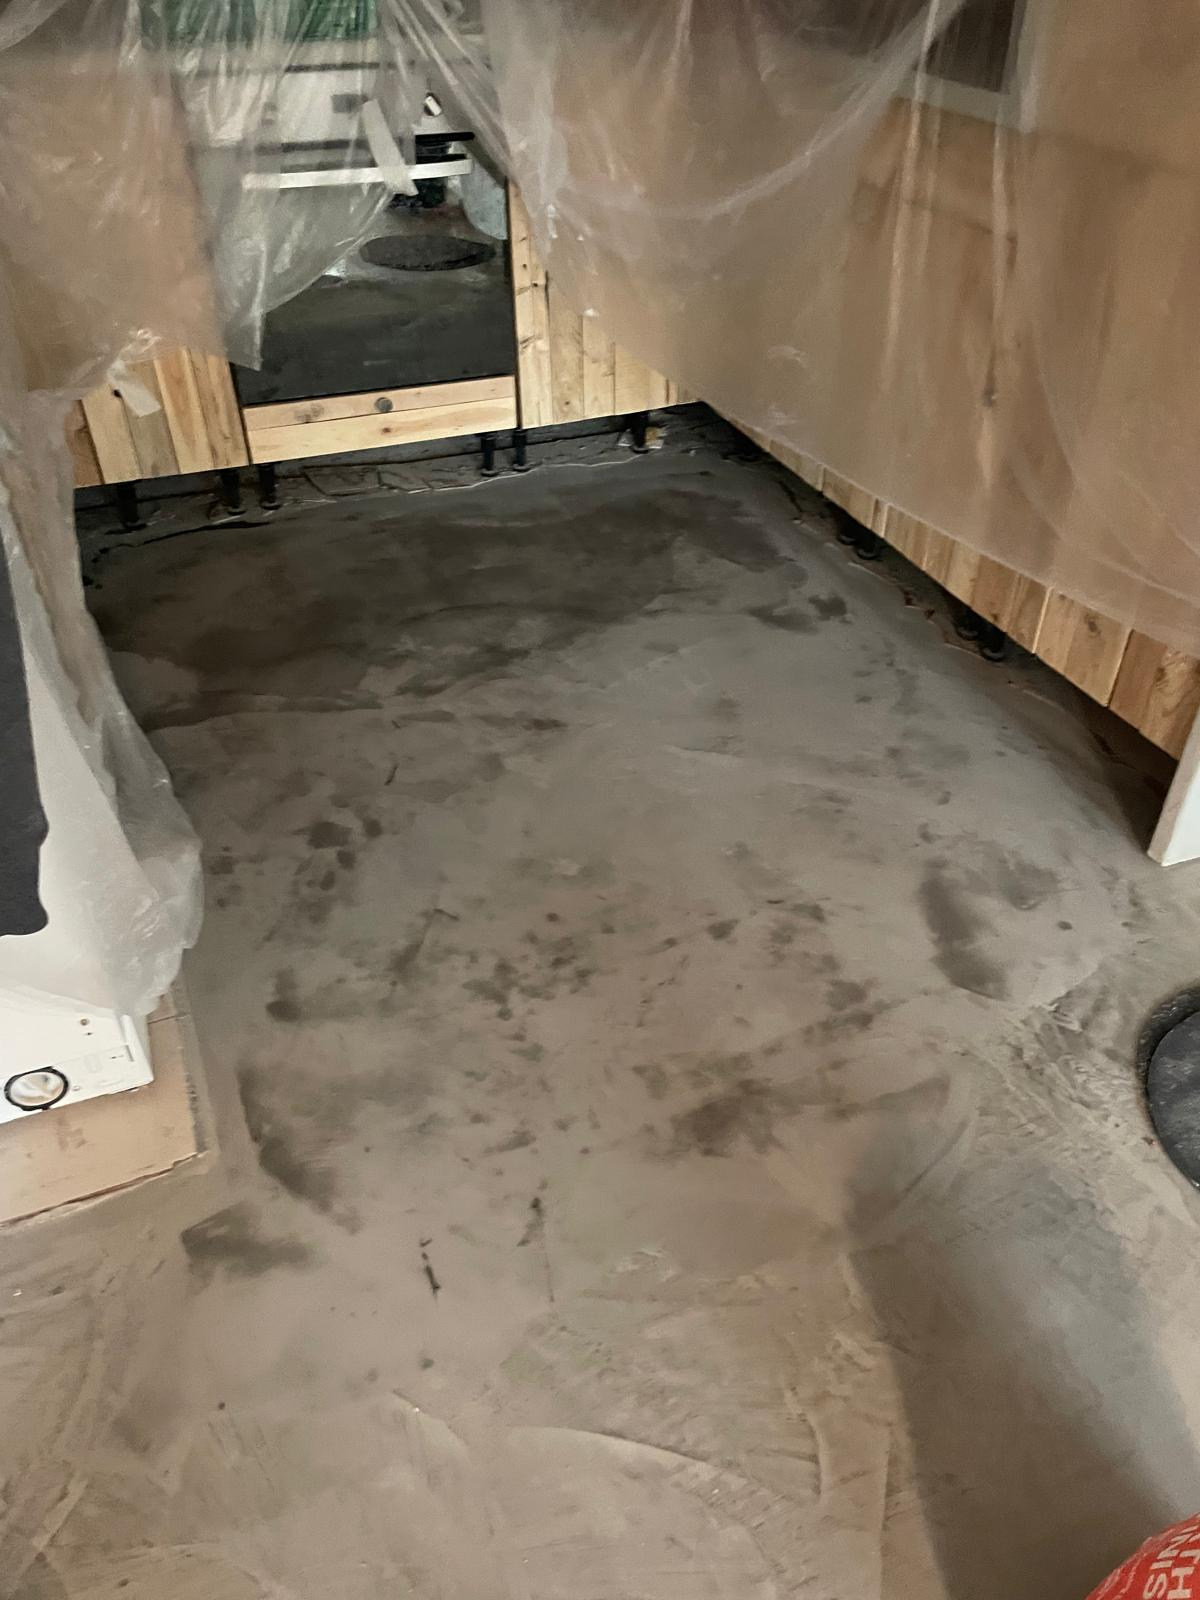
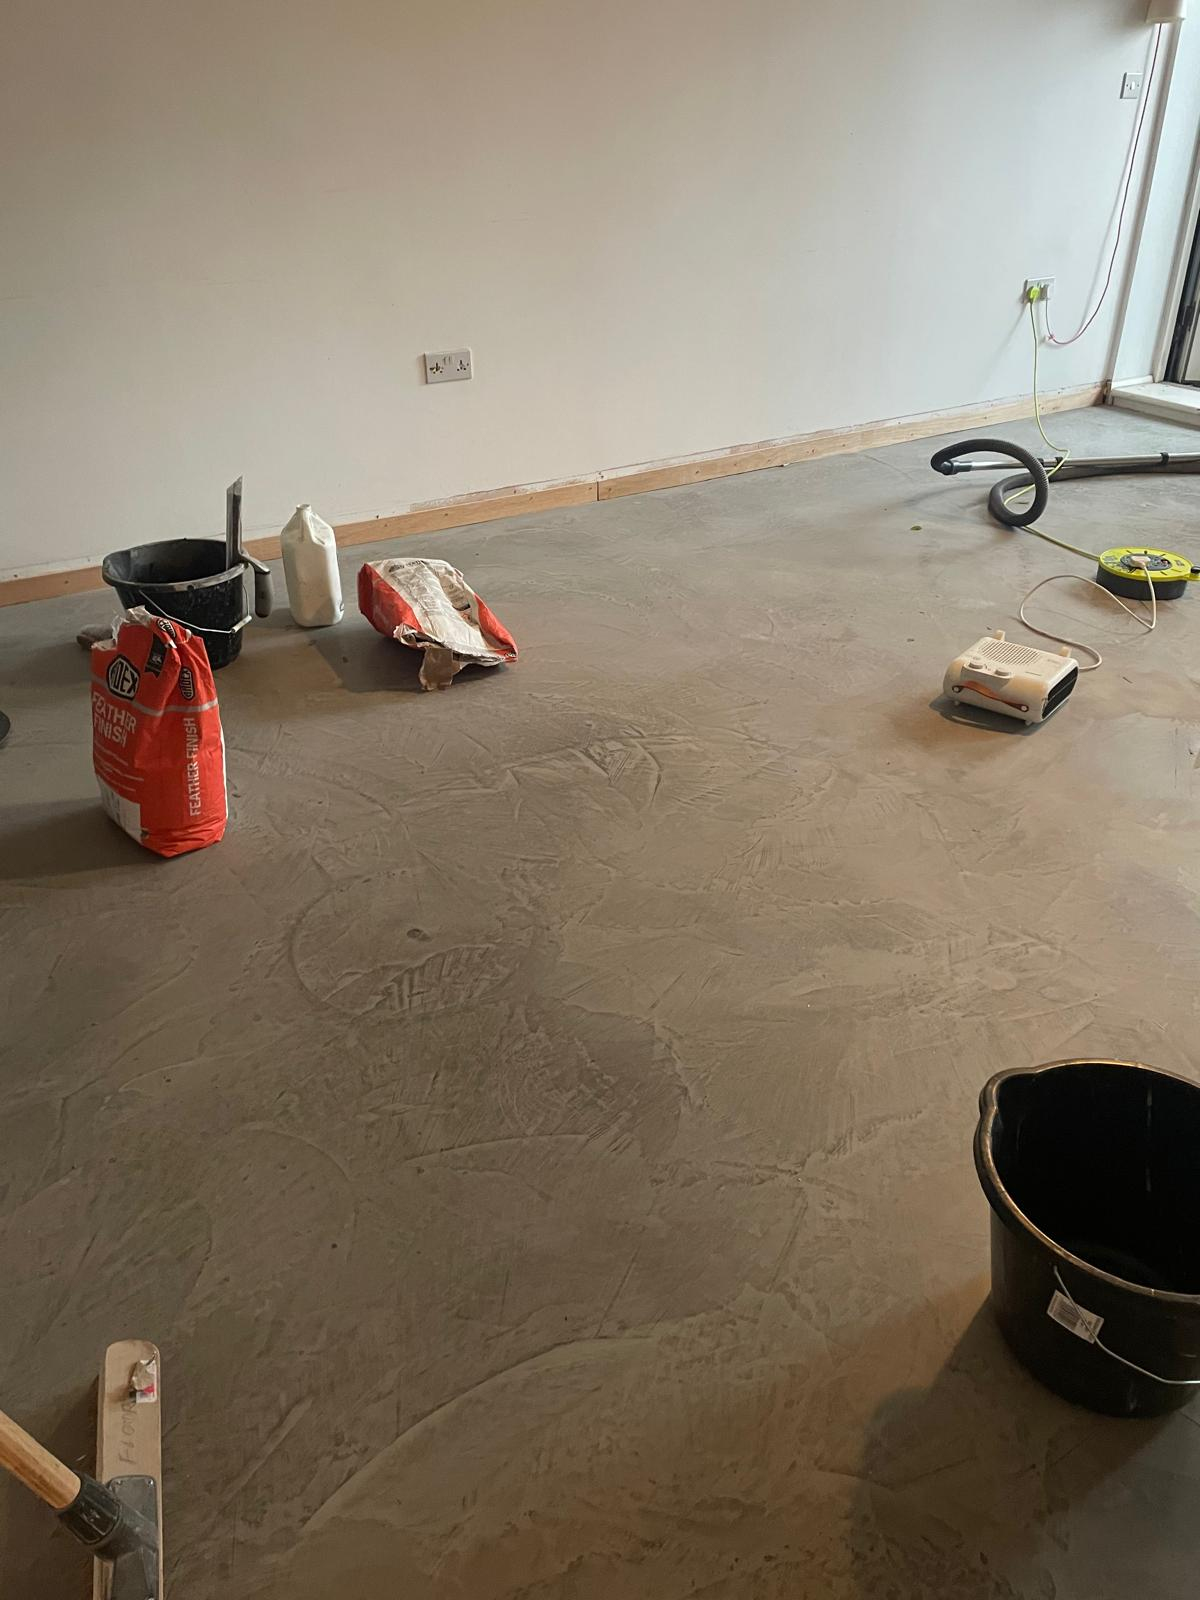
1) Clean floor
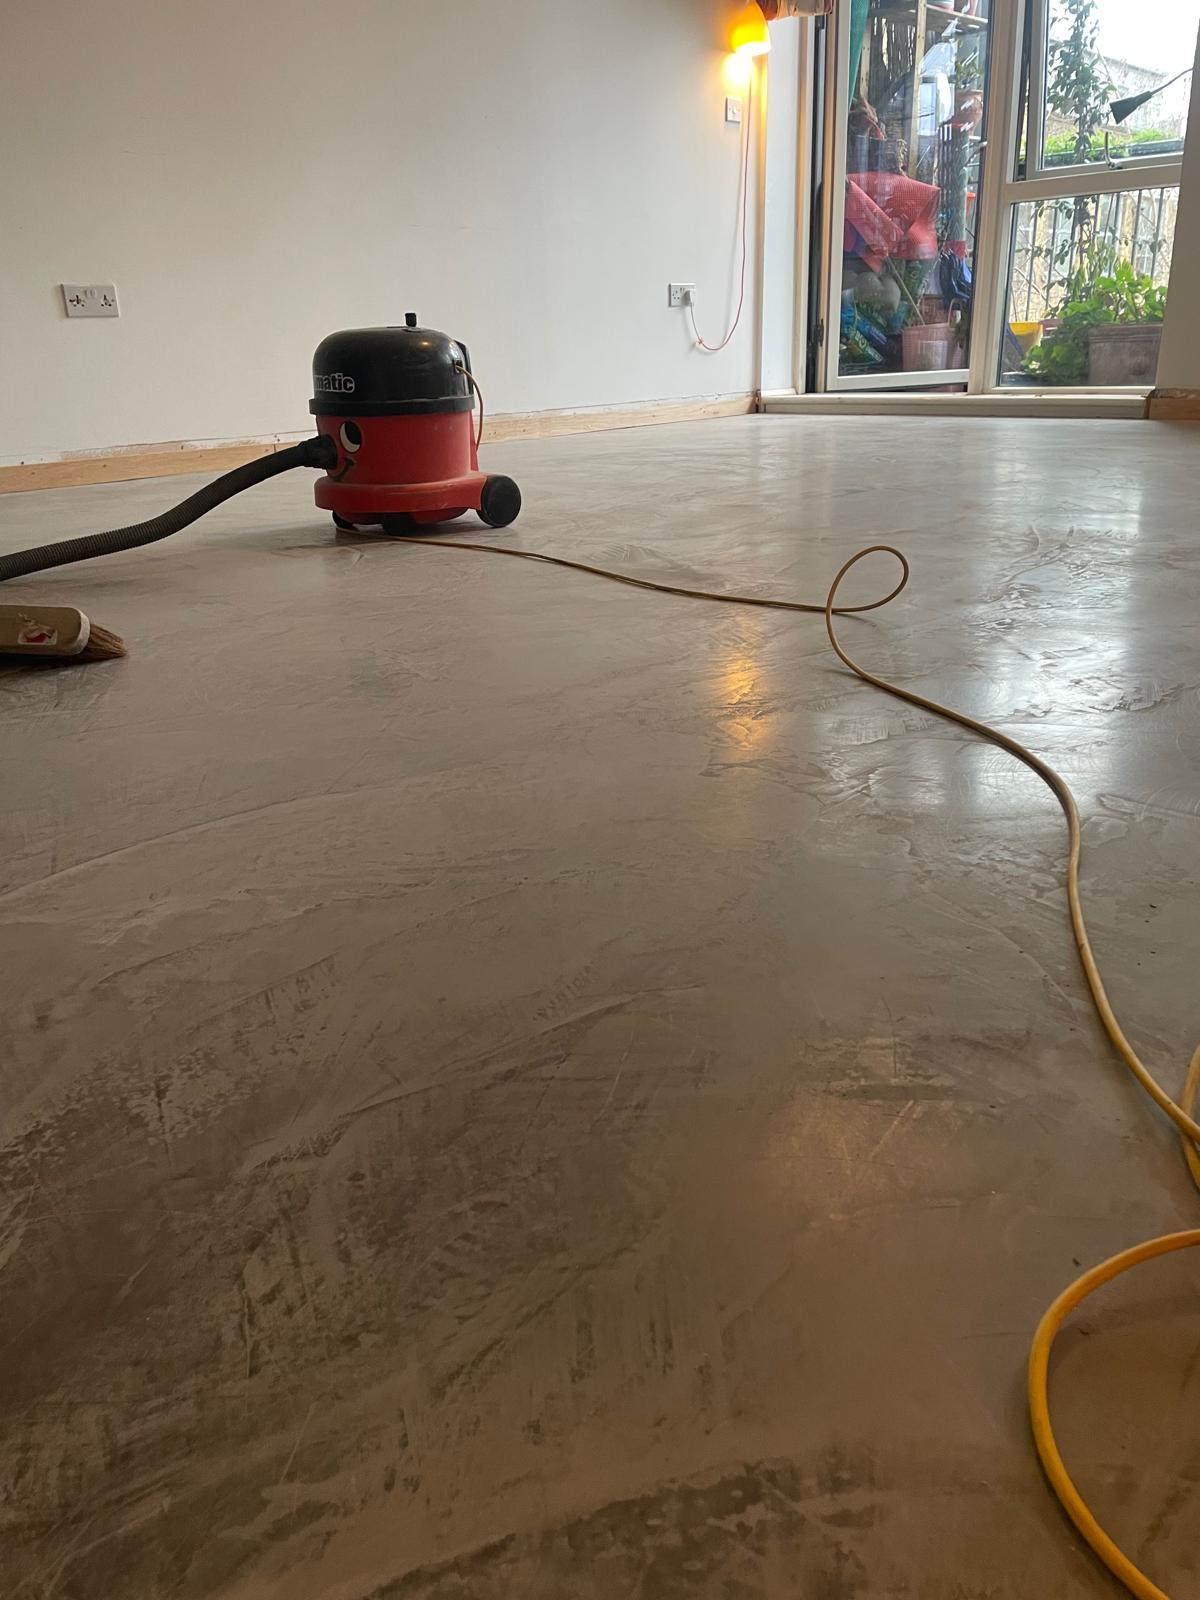
Every great finish starts with great preparation. We thoroughly cleaned the existing floor to remove dust, debris, residue, and anything that could interfere with adhesion. This stage is crucial—especially in apartments where builders’ dust and leftover compounds can linger.
2) Prime floor
Next, we applied a high-quality primer suited to the substrate. Priming helps the next layer bond properly, reduces suction, and supports a consistent cure. Skipping this step is one of the biggest reasons levelling systems fail, so we never cut corners here.
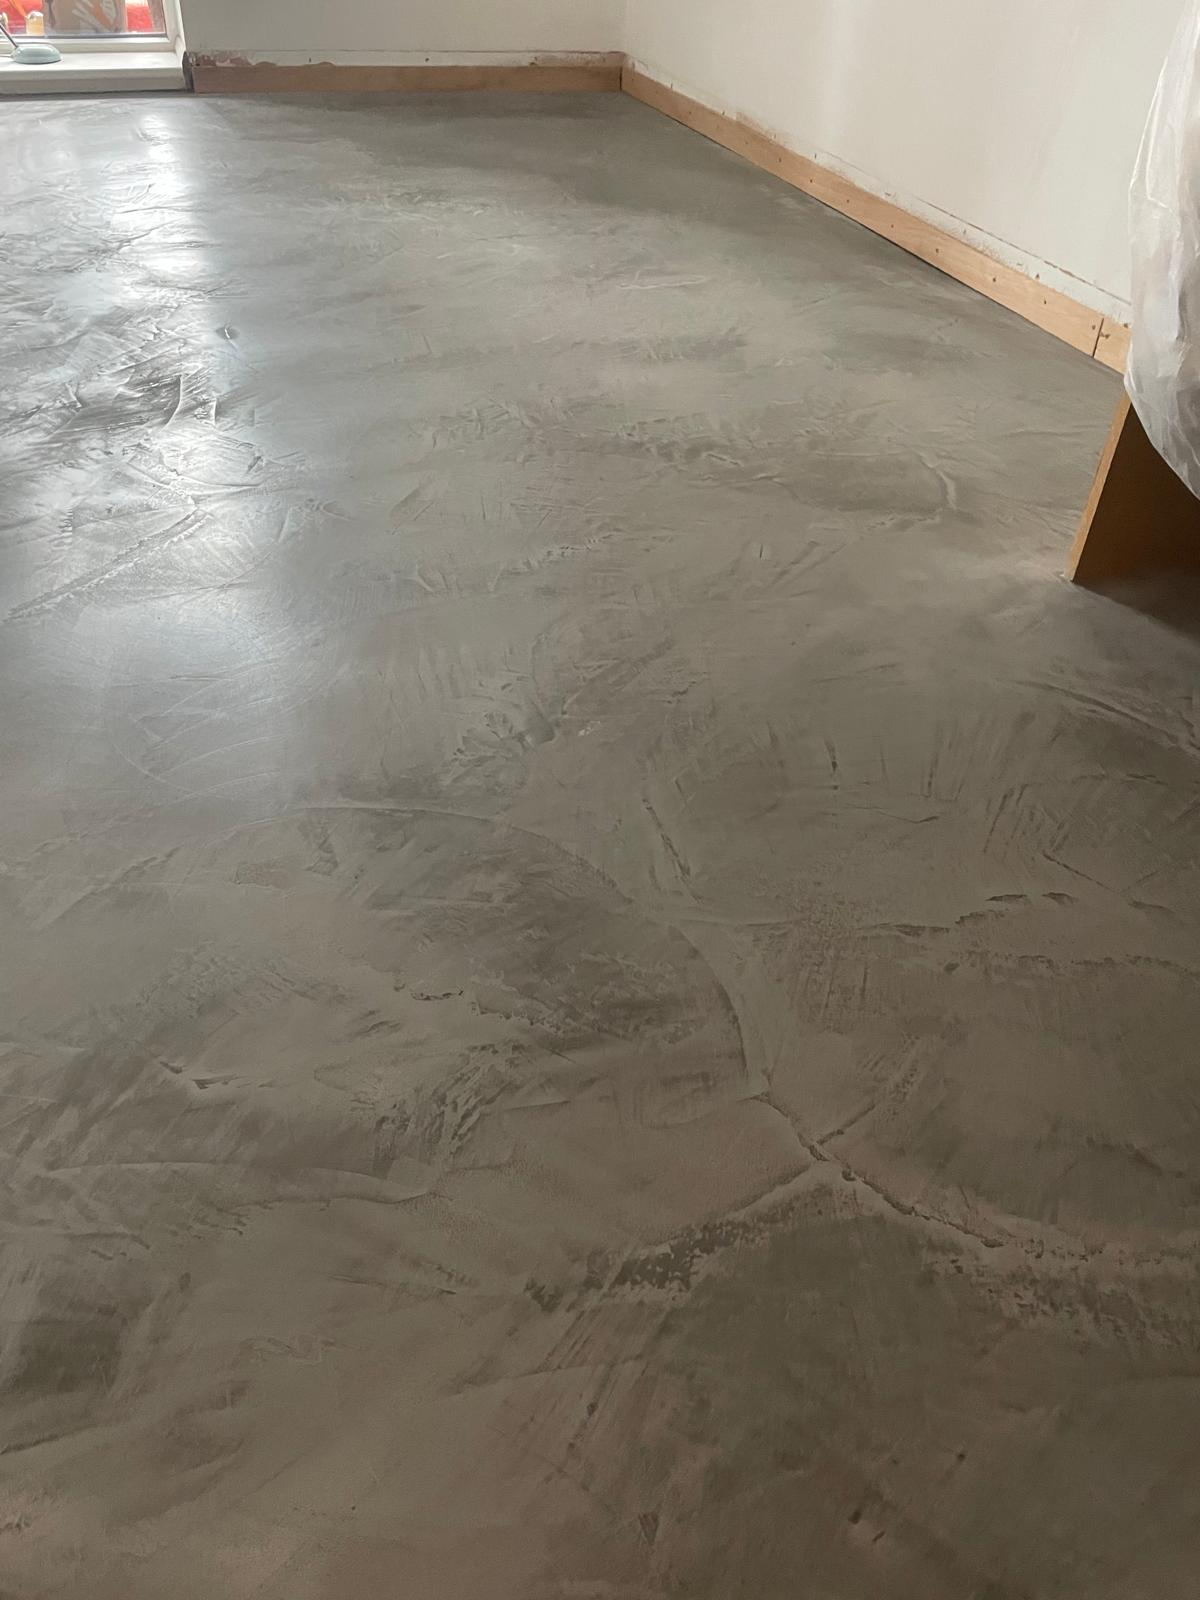
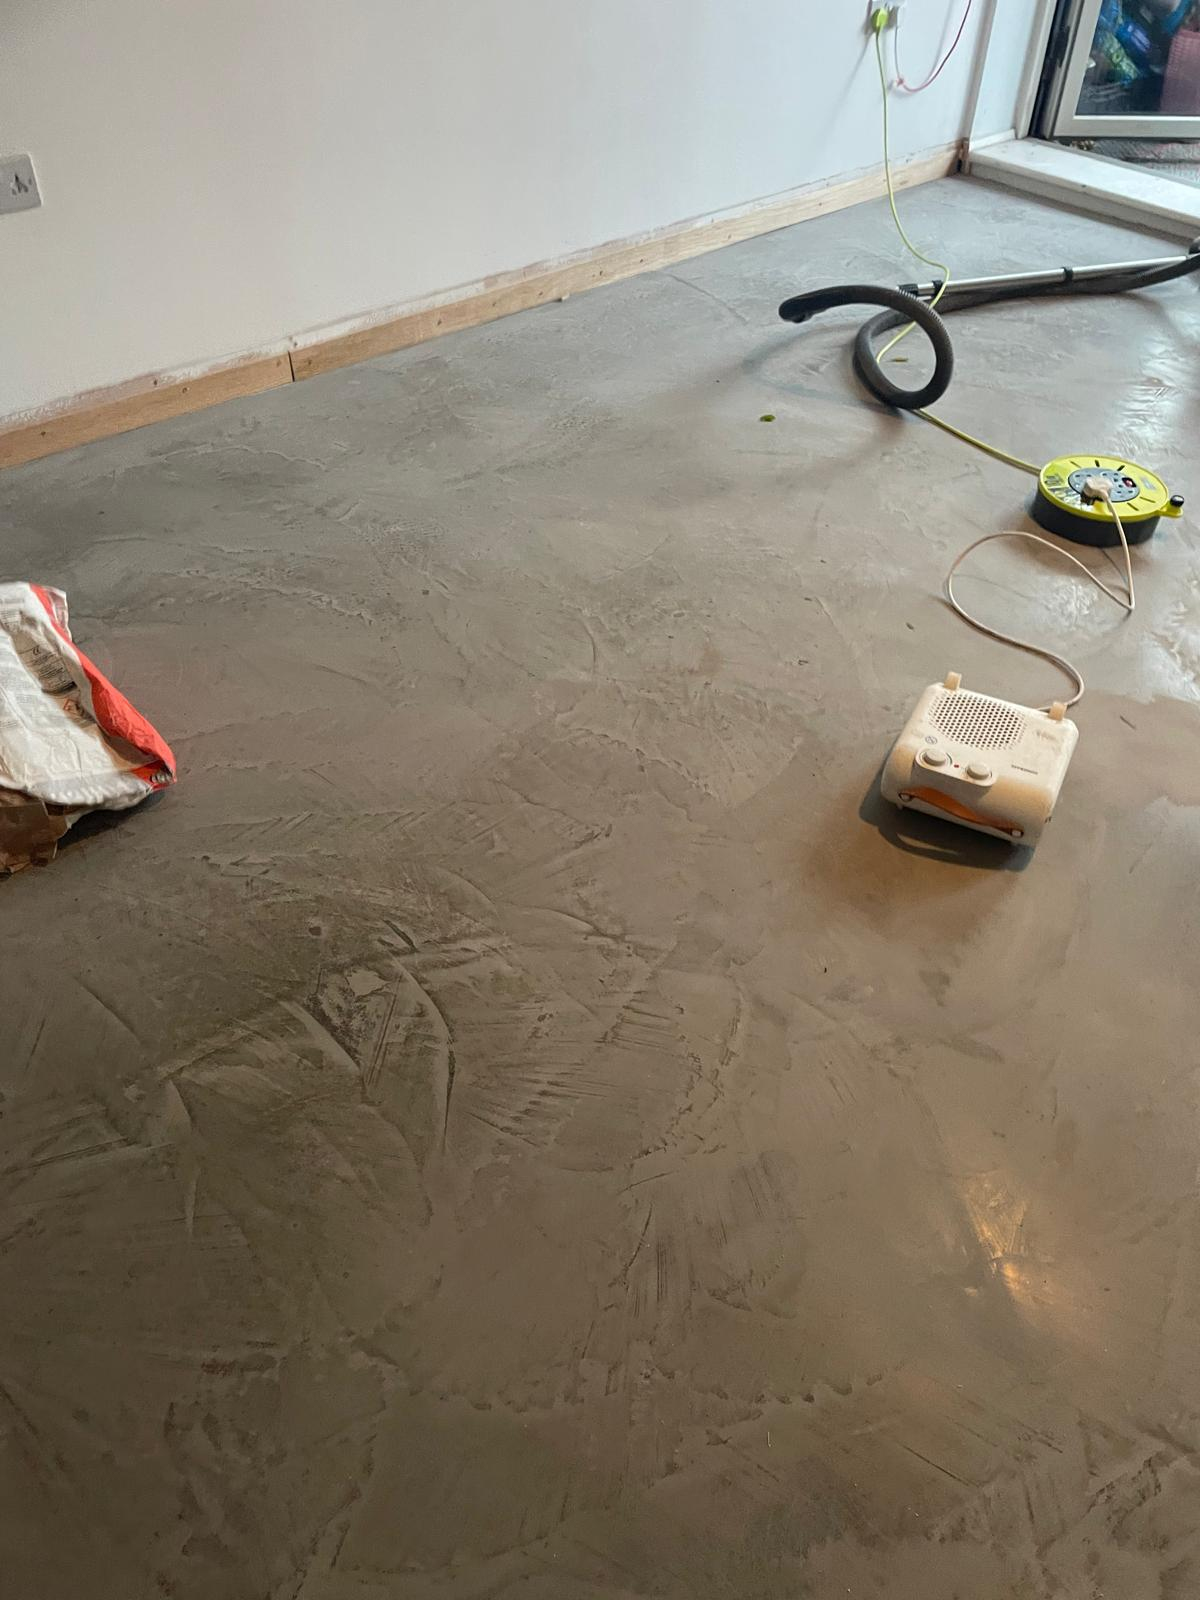
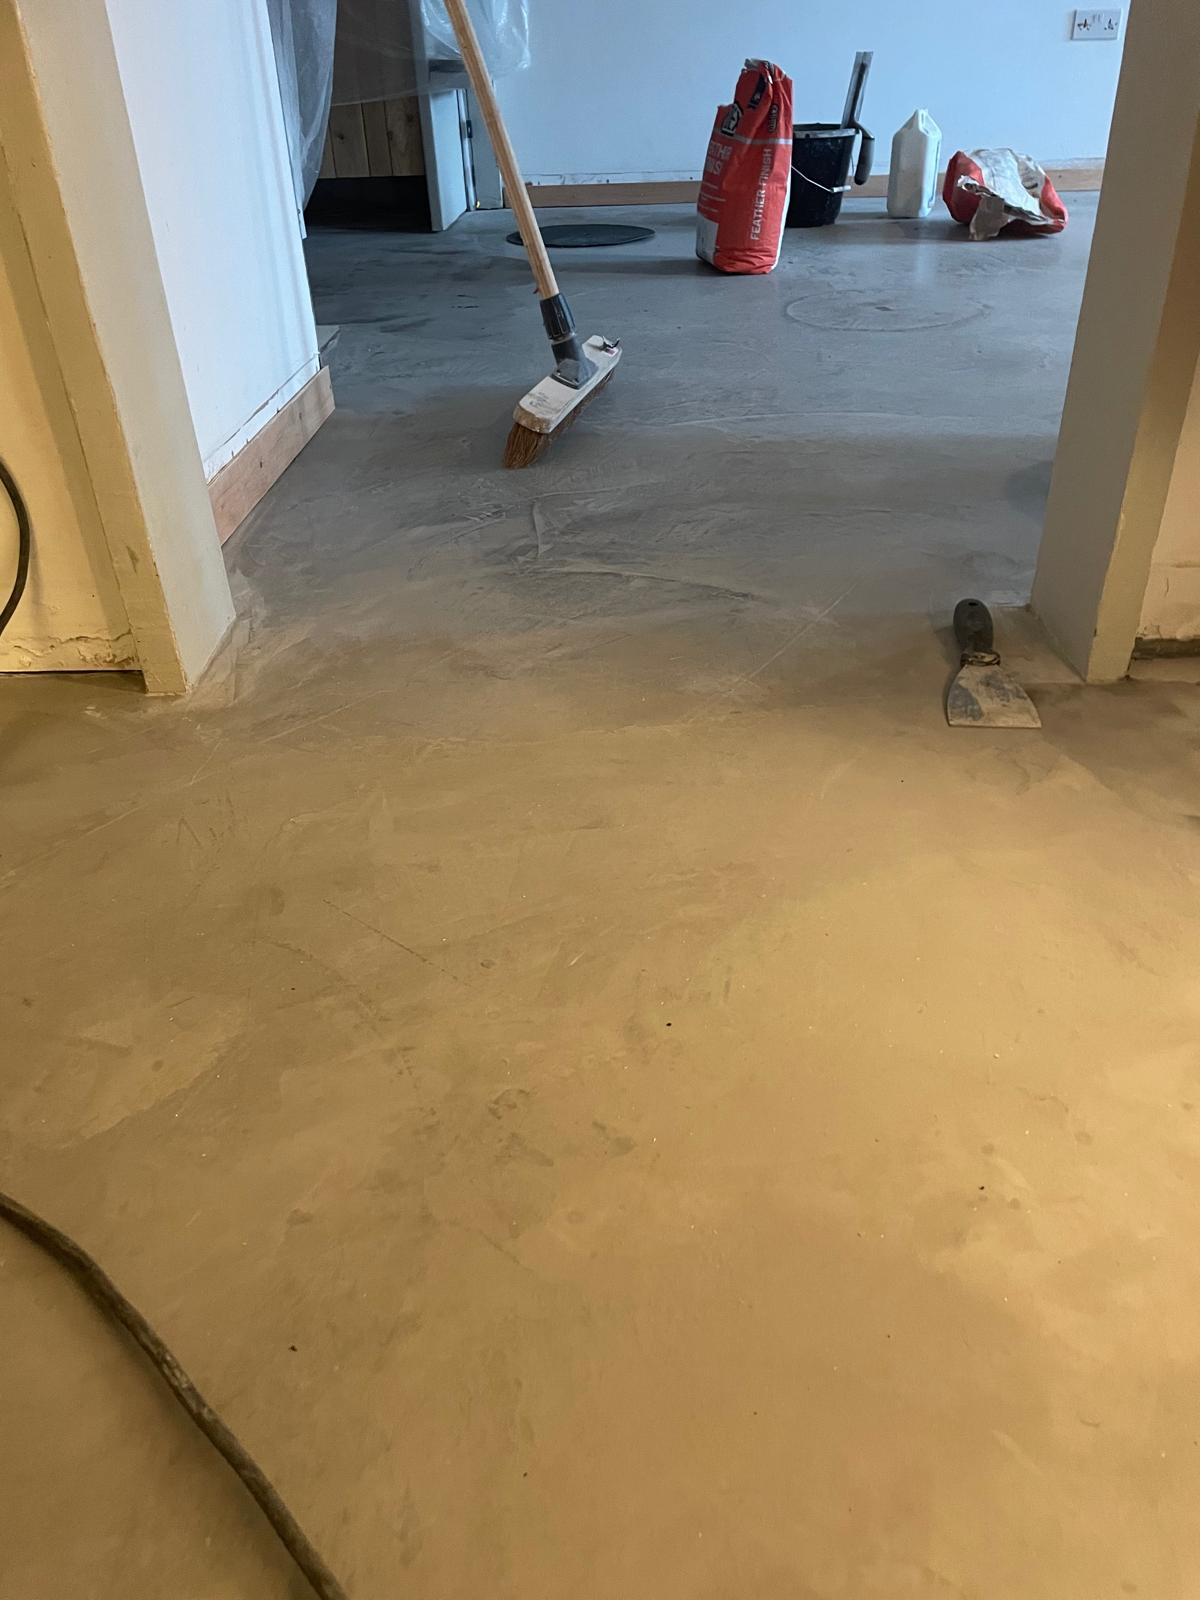
3) Apply self-levelling latex and allow to dry
To achieve that seamless “concrete” look, we applied a self-levelling latex layer. This creates a smooth, even surface that can be finished to a refined, polished concrete-style appearance.
Because of the winter conditions and the underfloor heating situation, drying and curing mattered even more than usual. We monitored the environment carefully and allowed the levelling layer the time it needed to dry properly.
Return following day (plus an extra day for cooling)
Normally, we return the next day to continue. On this job, we added an extra day because of the underfloor heating cooling requirement. That small change ensured the levelling layer cured evenly and stayed stable—essential for a flawless polished finish.
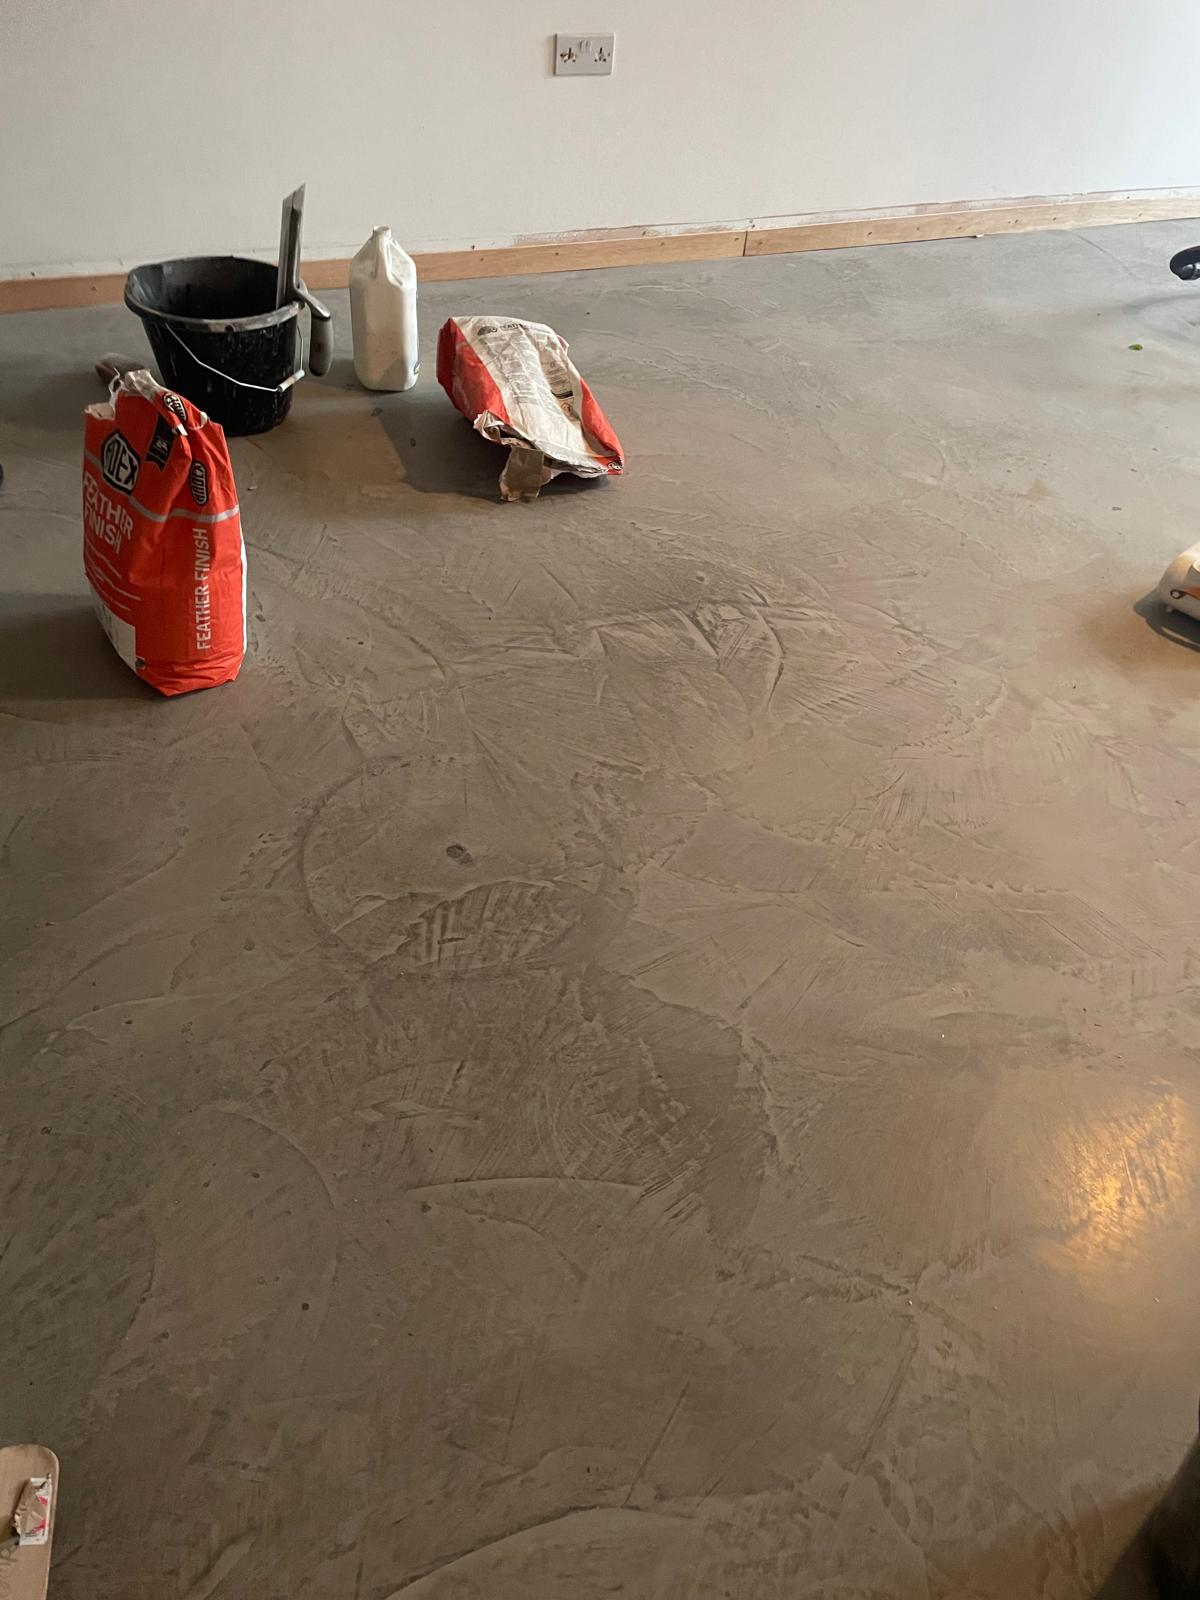
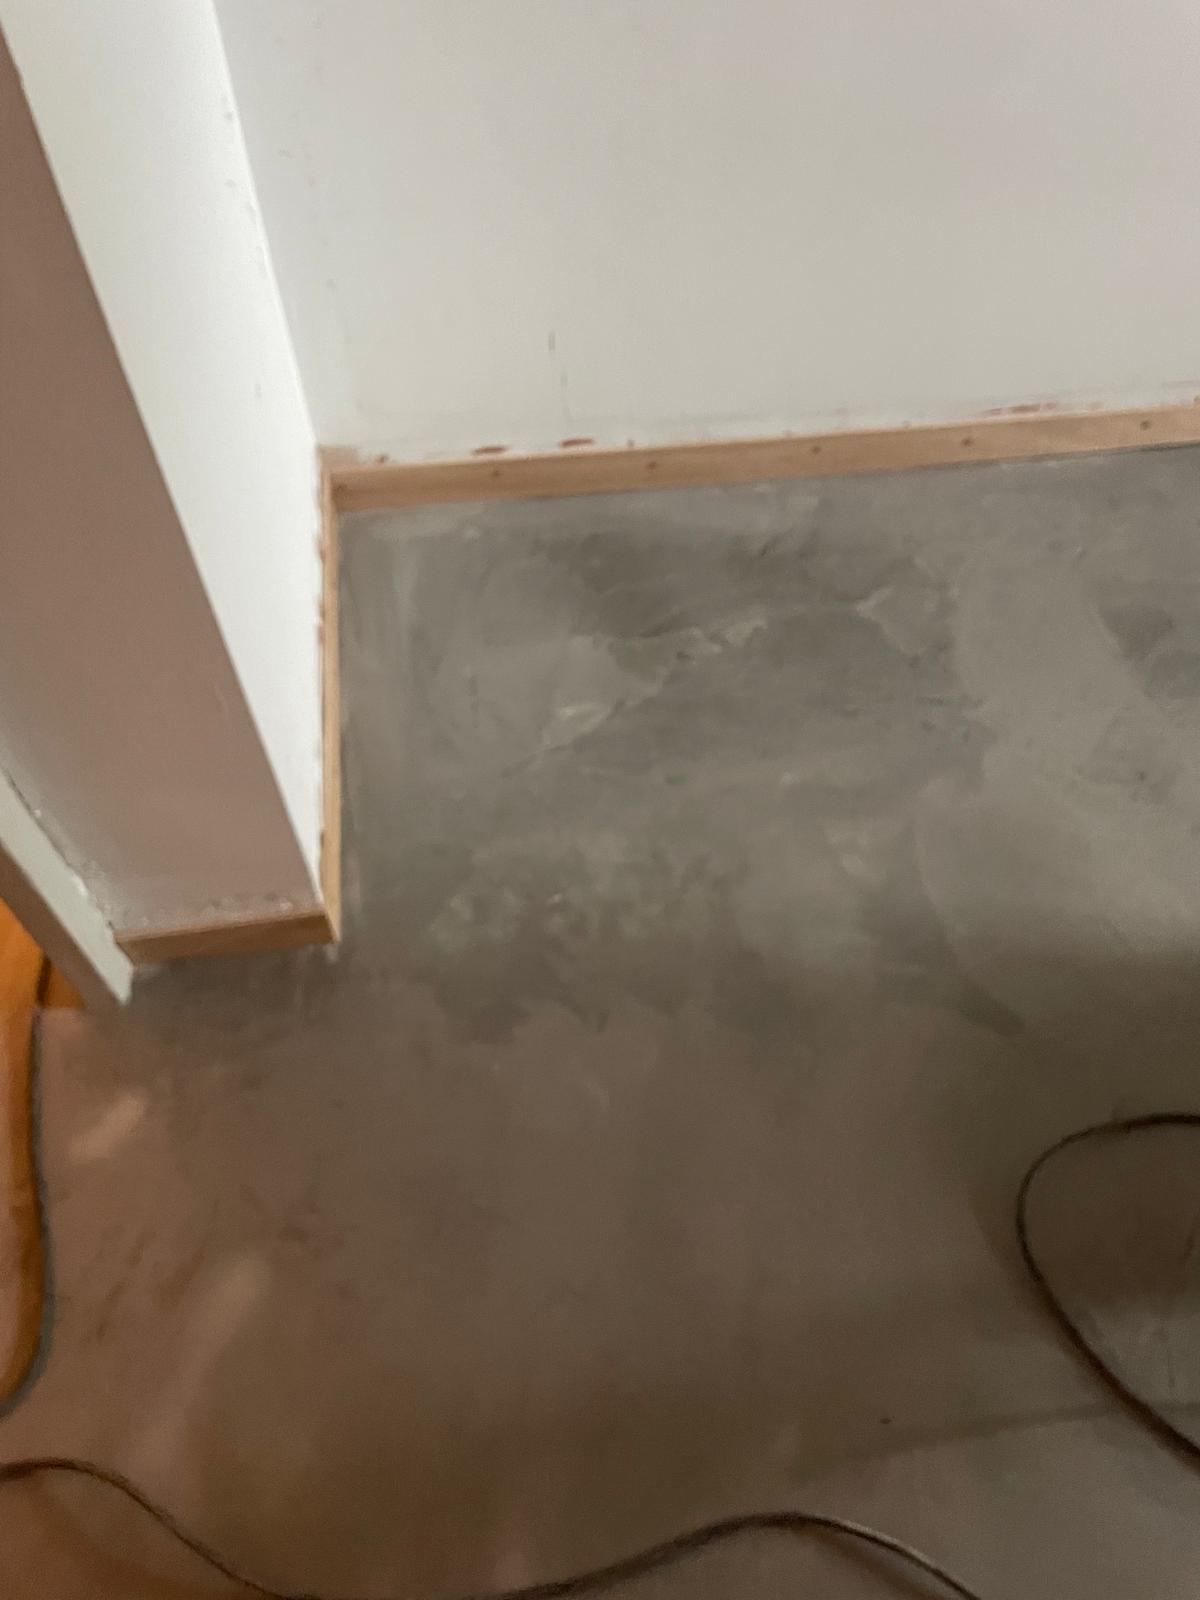
4) Sand to a smooth finish
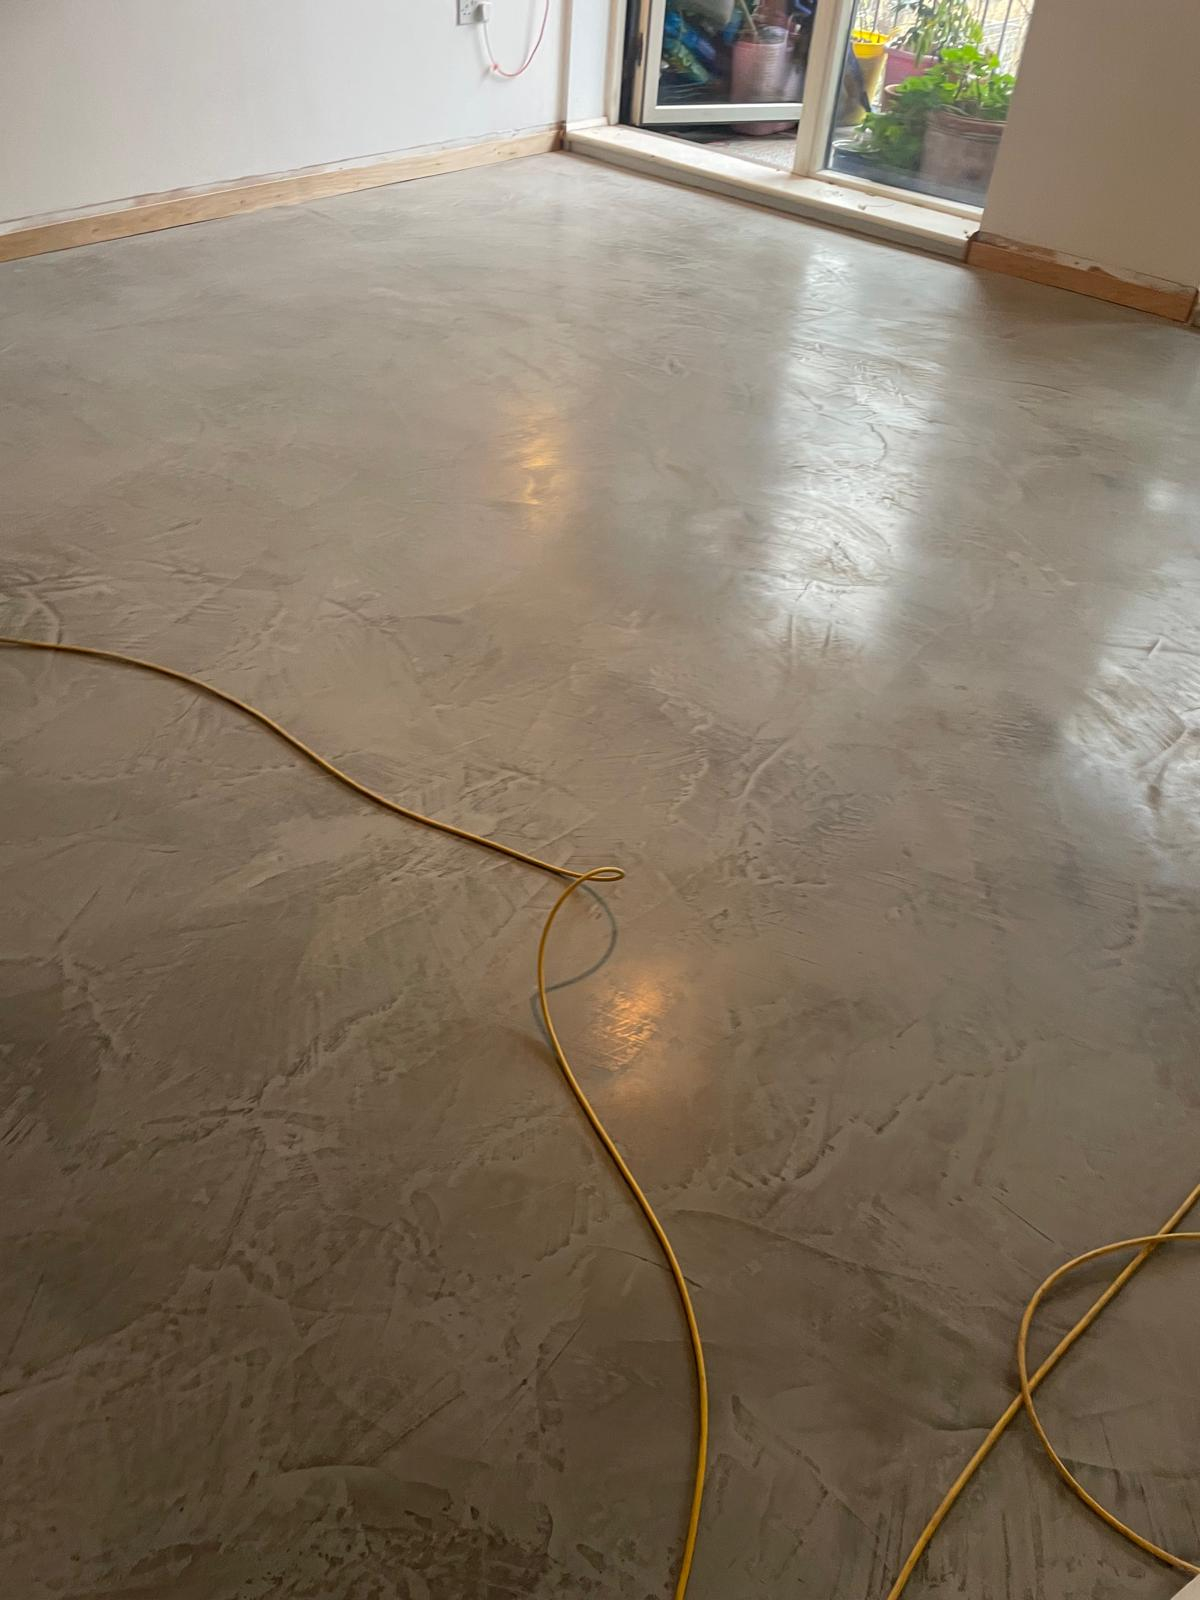
Once the surface was fully ready, we sanded it to remove any slight imperfections and bring the floor to a smooth, uniform texture. This step is where the “industrial” becomes “architectural”—you keep that urban concrete feel, but refine it so it looks intentional and high-end.
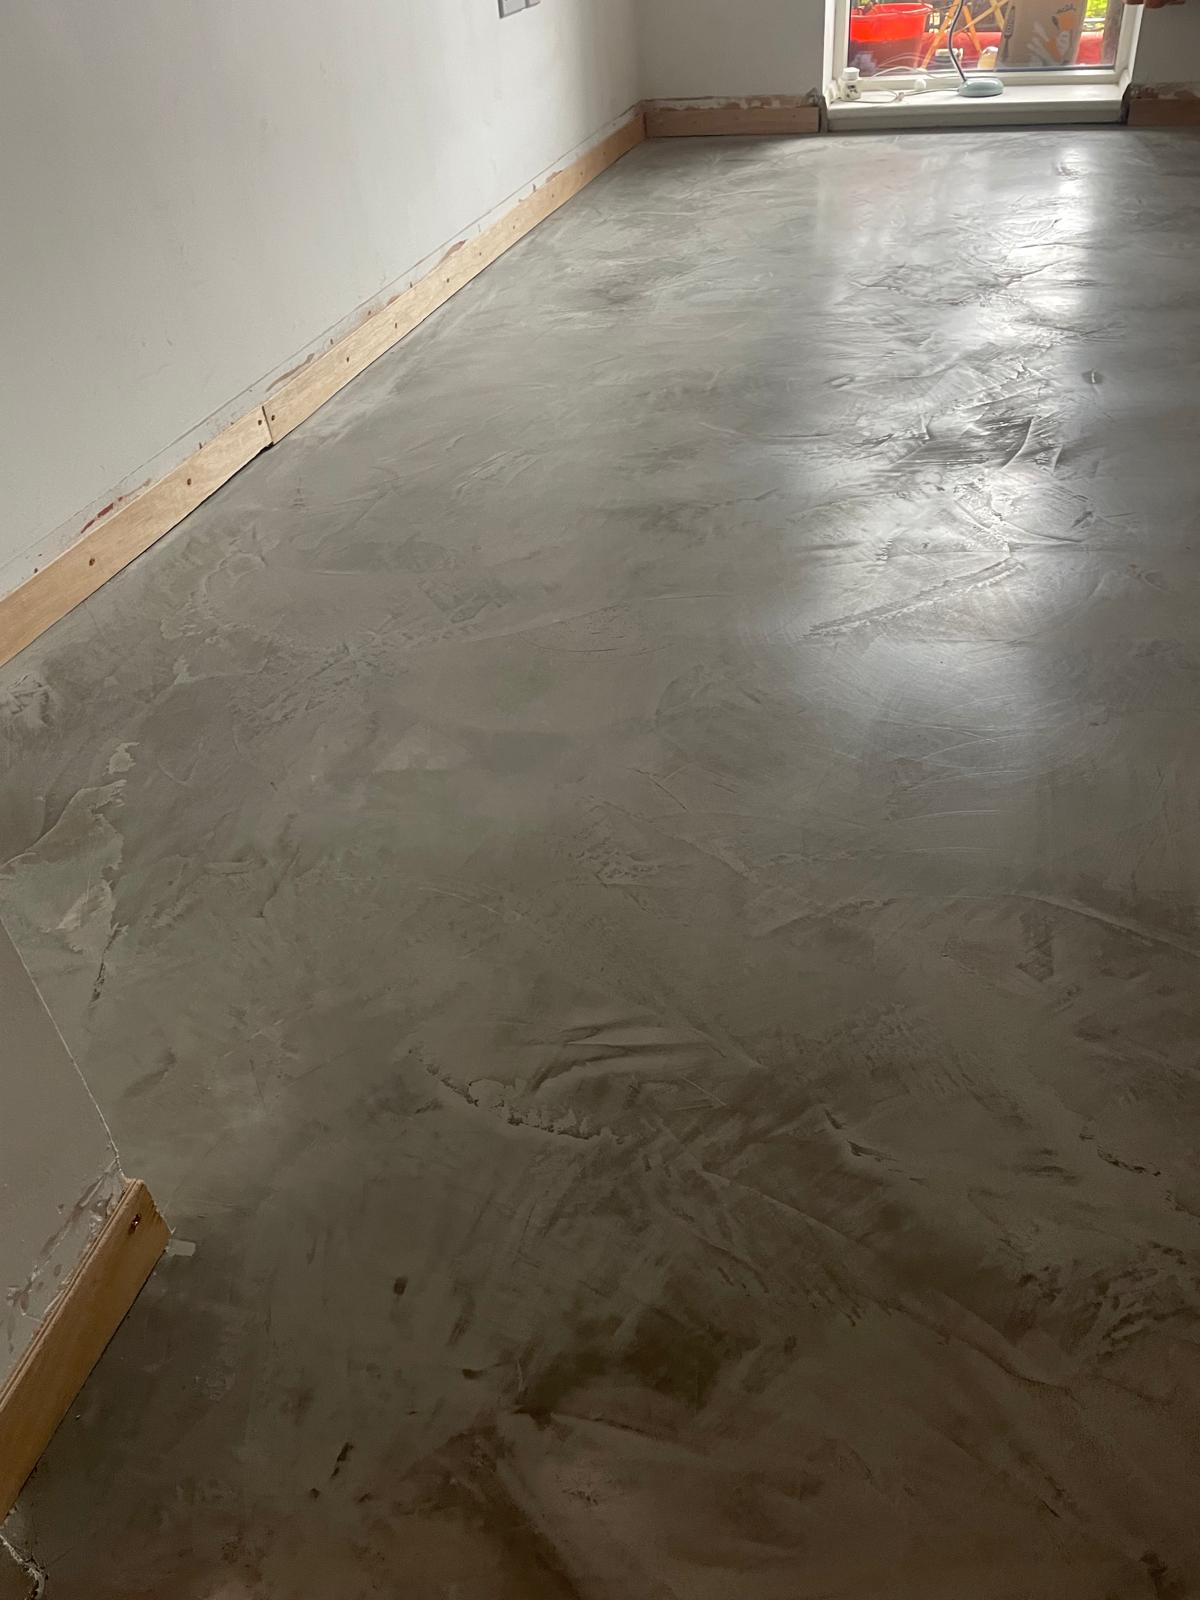
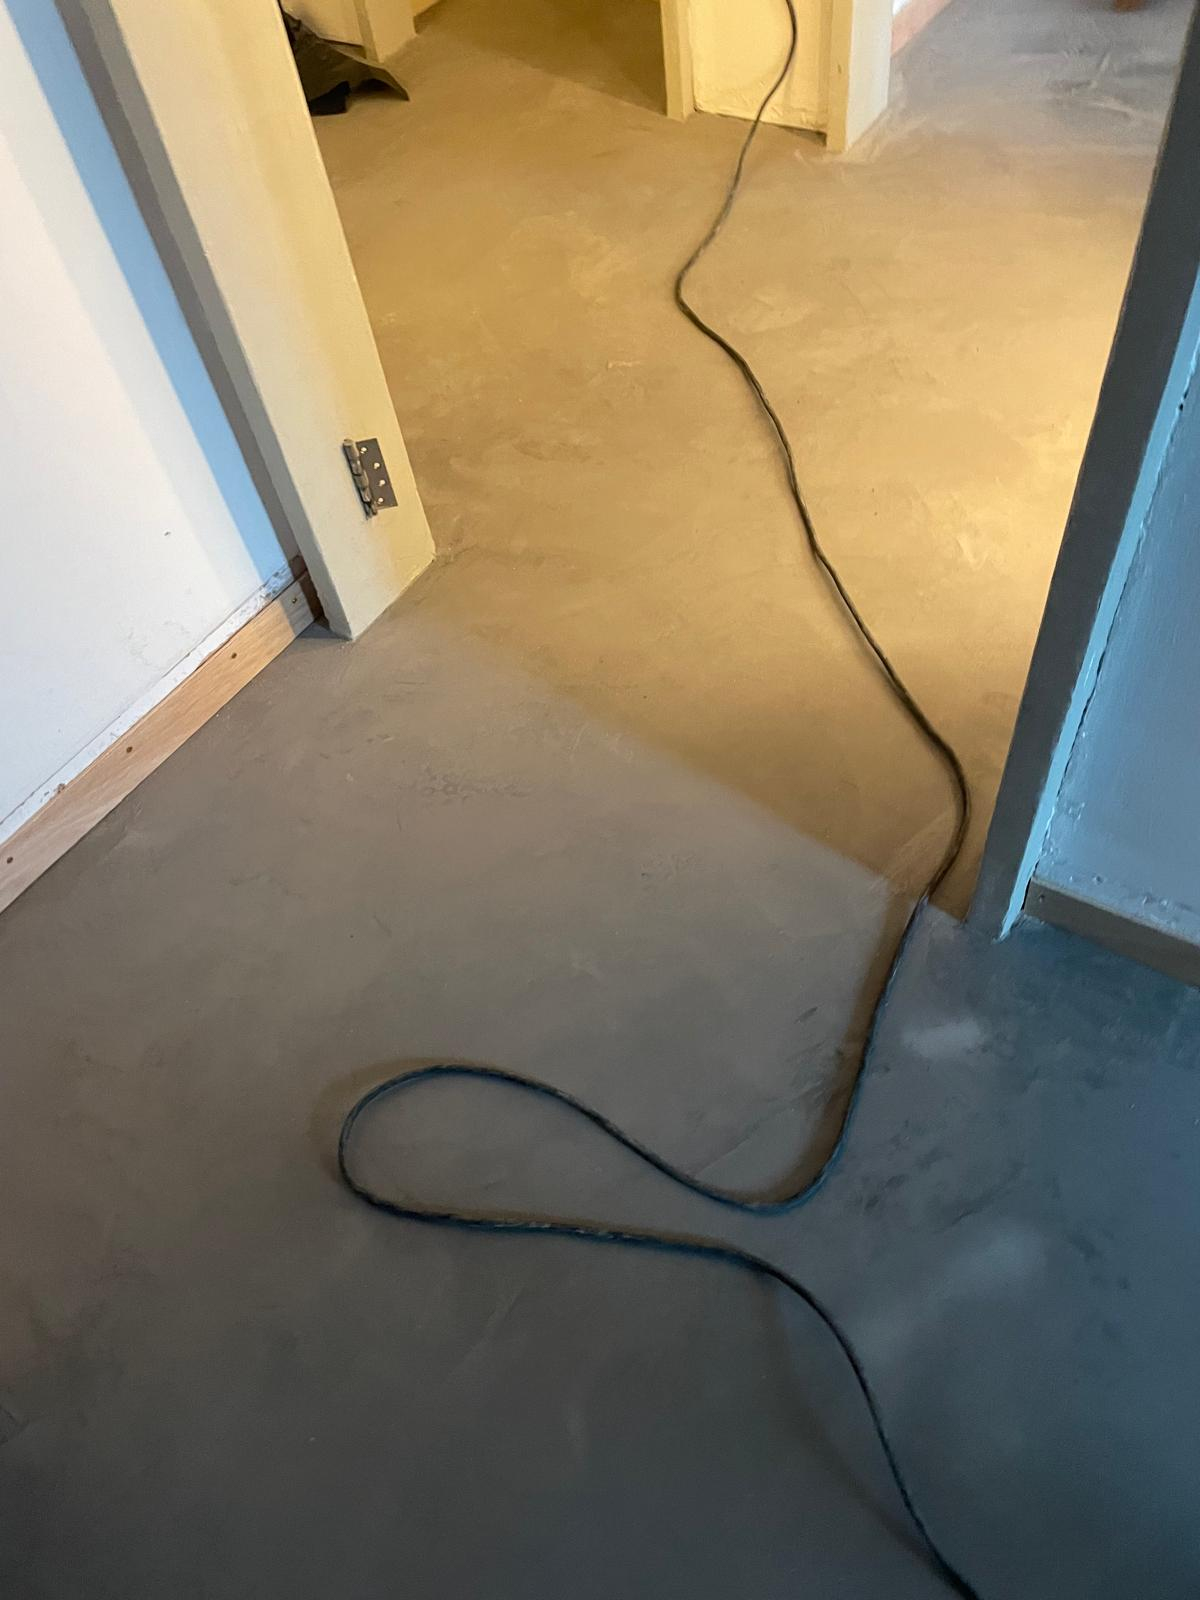
5) Clean and seal, then final polish
After sanding, we cleaned thoroughly again, then applied a professional sealant to protect the surface from staining and everyday wear. Finally, we polished the finish to achieve the level of sheen the customer wanted—modern and clean, without looking glossy or plastic.
6) Clean and clear upon completion
We always leave the site tidy and ready to use. Once the final polish was complete, we cleaned the area, removed masking and protection, and handed over a floor that was ready for furniture and real life.
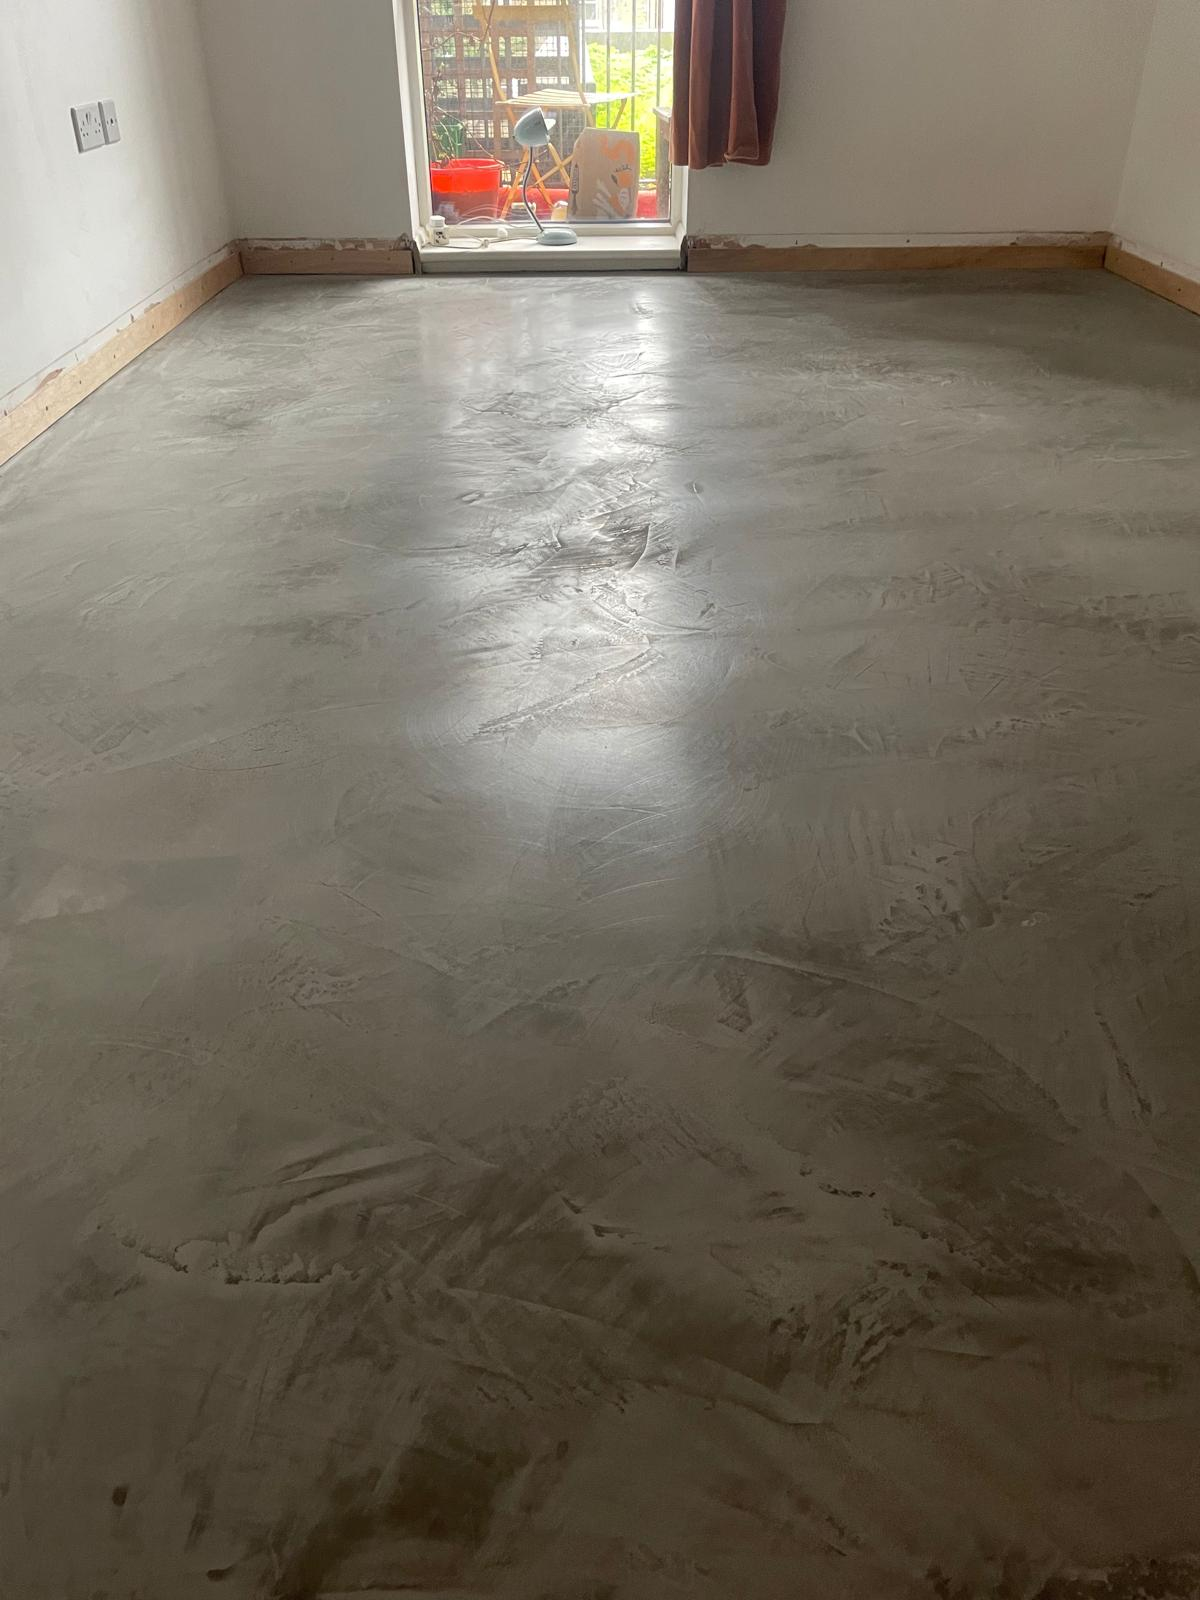
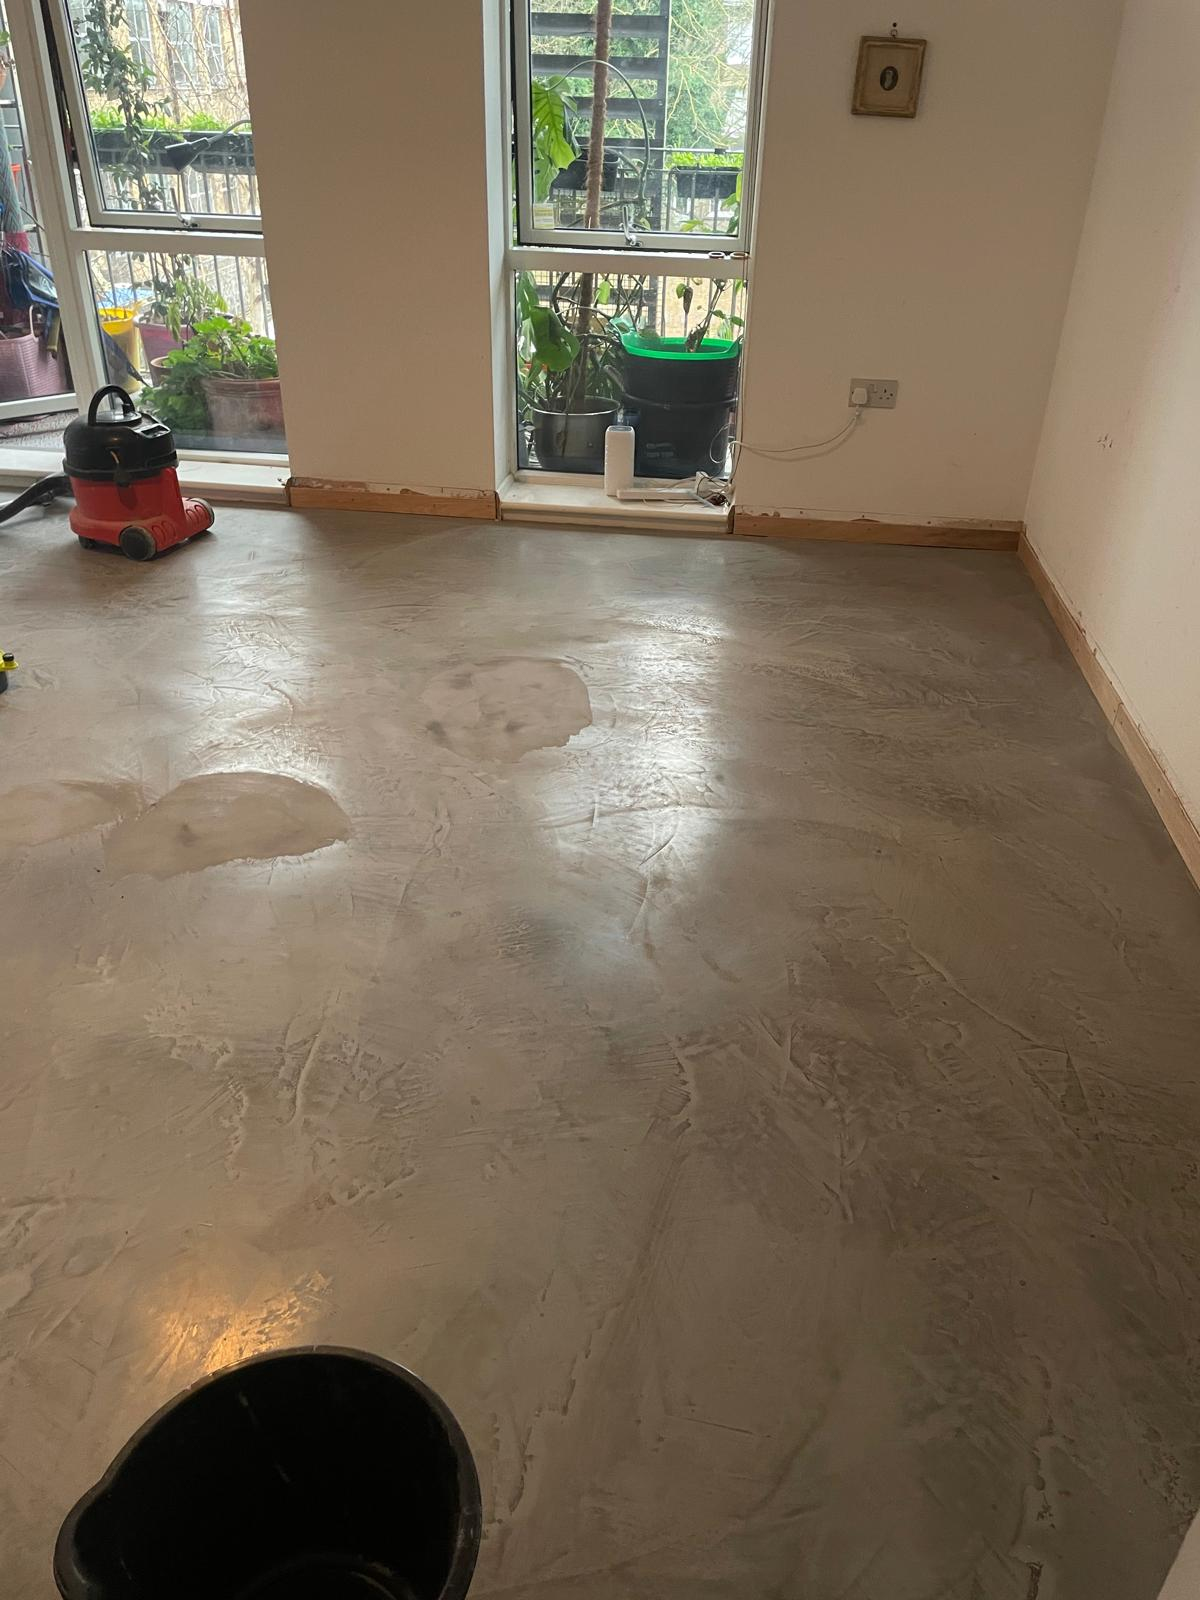
The result: Industrial style, Hackney attitude, practical performance
The finished floor delivered exactly what the customer asked for: a polished concrete floor look that matched Hackney’s urban aesthetic while still feeling warm and liveable. It complemented the apartment perfectly—minimal, modern, and tough enough for busy day-to-day use and it could use a really nice new custom sized rug made for it too.
If you’re considering a polished concrete floor installation in London, especially with underfloor heating or during winter, the key is working with a team that understands timing, curing, and preparation. The best floors aren’t rushed—they’re done properly.
Want a polished concrete-style finish that suits your space? If you’re based in Hackney or anywhere in London, get in touch and we’ll talk you through the best system for your property, your lifestyle, and the look you’re going for. And we do a lot of these floors after the original floor (whatever it was) has failed, after perhaps a flooring inspection report for insurance.
Polish concrete floor London


Recent Comments